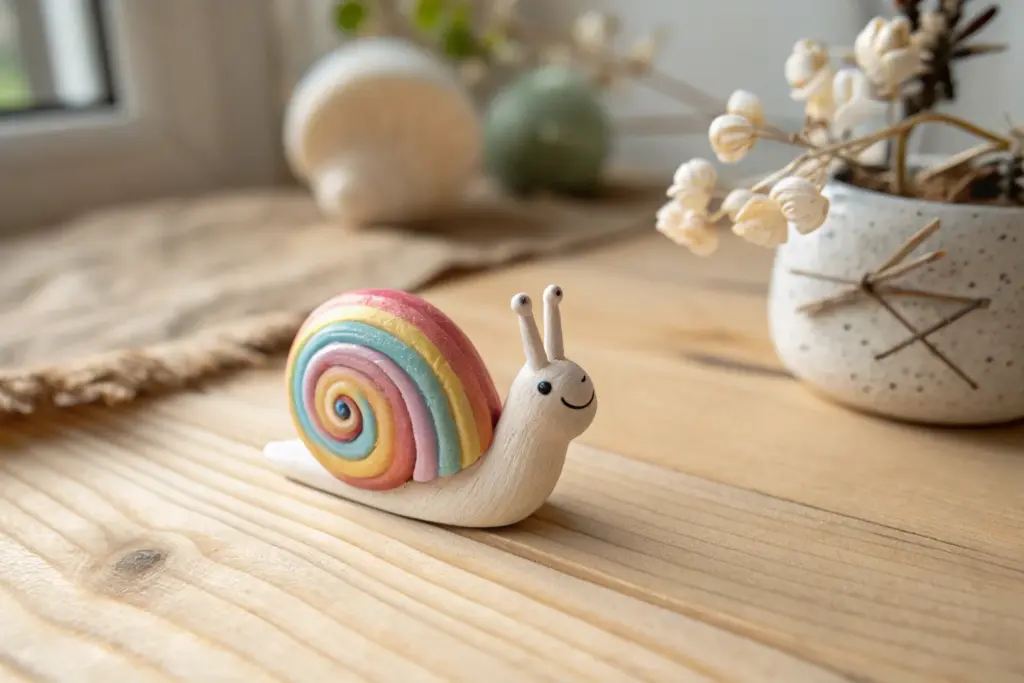
If you can roll a ball, pinch a bowl, and make a little “snake” coil, you can make seriously cute clay art right away. These beginner-friendly ideas are the kind I teach in my studio when you want quick wins that still look adorable on a shelf, desk, or gift tag.
Mini Animal Buddy Figures
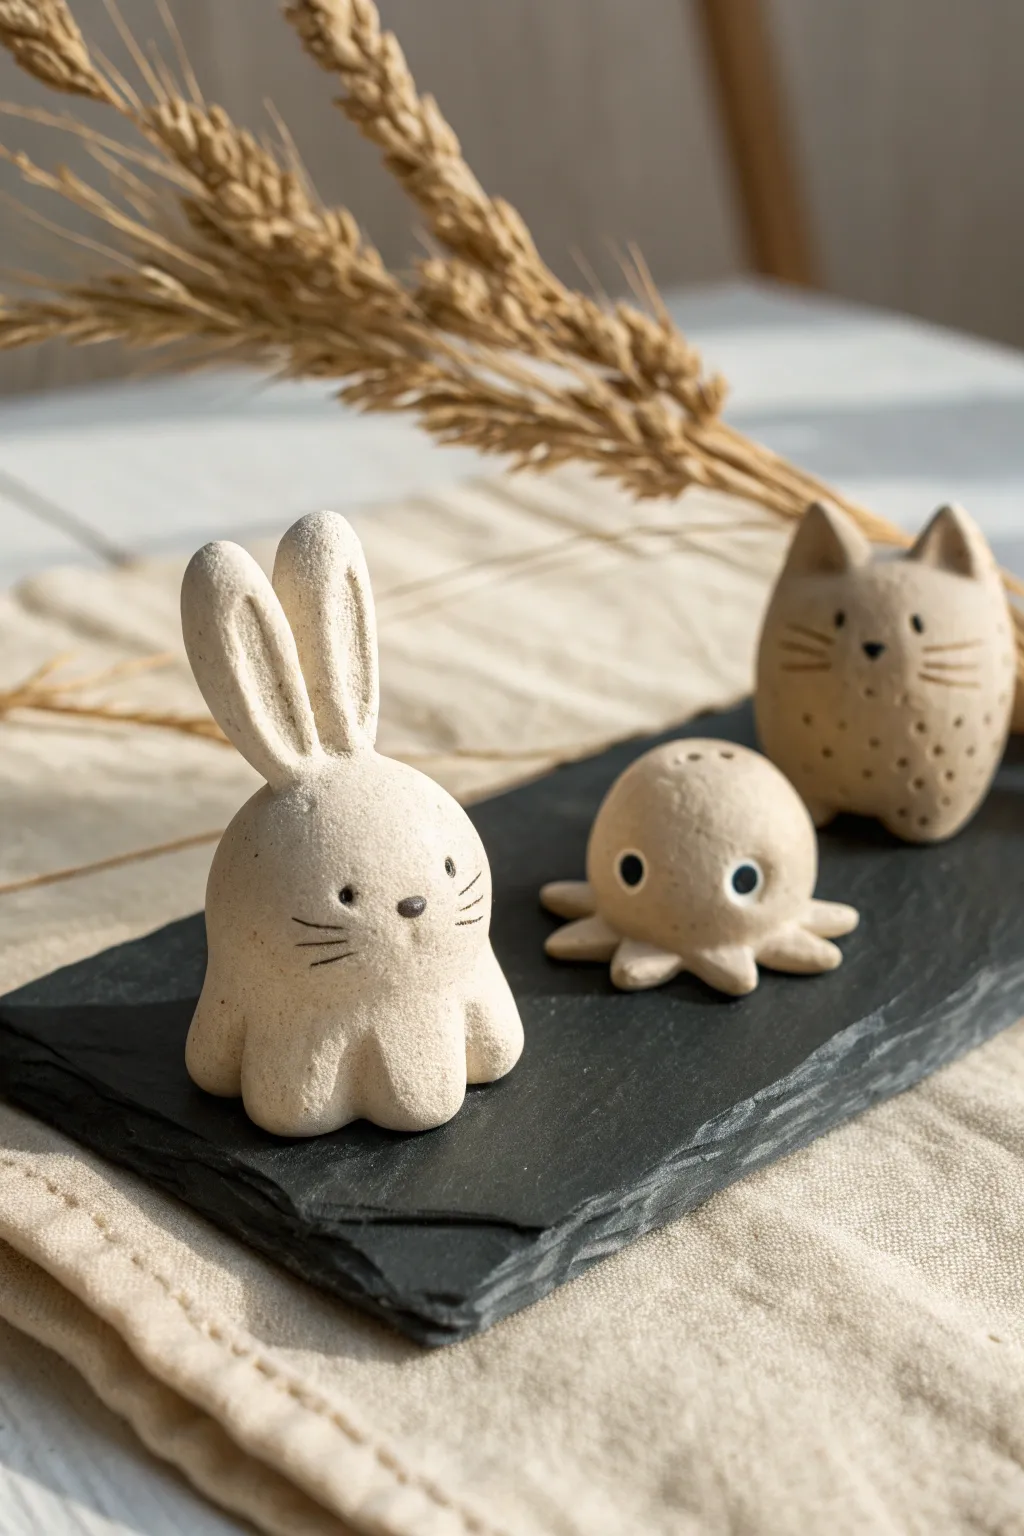
Create a charming set of miniature friends featuring a rabbit, an octopus, and a cat, all crafted from natural-toned clay. These figures boast a delightful, minimalist aesthetic with their smooth, rounded forms and simple etched details.
How-To Guide
Materials
- Beige or sand-colored polymer clay (or air-dry clay with a stone texture)
- Black acrylic paint or fine-tip black marker
- Small ball tool or detail stylus
- Needle tool or toothpick
- Modeling knife
- Googly eyes (small) for the octopus
- Glue (if using googly eyes)
- Smooth work surface
- Oven (if using polymer clay)
Step 1: The Rabbit
-
Form the Body:
Start with a walnut-sized ball of clay. Roll it until smooth, then gently shape it into a rounded dome with a slightly flatter bottom so it sits stably. -
Create the Feet:
At the base of the dome, use your finger or a modeling tool to gently press indentations to suggest small, rounded paws peeking out from under the body. -
Shape the Ears:
Roll two smaller logs of clay, tapering them slightly at the ends. Flatten them gently to form the long rabbit ears. -
Detail the Ears:
Use a small modeling tool to make an elongated indentation down the center of each ear. Creating this depth adds a lovely realistic touch. -
Attach the Ears:
Press the ears firmly onto the top of the head. Smooth the clay at the join so they are seamless and secure. -
Add Facial Features:
Use a needle tool to scratch in whiskers on the cheeks. Press a tiny dot of black clay or use a marker later for the eyes and nose.
Step 2: The Octopus
-
Roll the Head:
Make a slightly smaller sphere for the octopus. Keep it perfectly round and smooth. -
Form Tentacles:
Take small pinches of clay and roll them into short, stubby sausage shapes. You will need about six to eight of these, depending on spacing. -
Assemble the Base:
Arrange the tentacles in a circle starburst pattern on your work surface. Press them together at the center. -
Join Head and Body:
Place the head sphere onto the center of the tentacles. Gently press down and smooth the clay where the head meets the legs to bond them. -
Add Googly Eyes:
While the clay is soft, press small indentations where the eyes will go. If baking, glue the googly eyes on after cooling; if air-drying, press them in now.
Smooth Seams
To erase fingerprints, dip your finger in a tiny bit of baby oil (for polymer) or water (for air-dry) and gently rub the surface before curing.
Step 3: The Cat
-
Shape the Cat Body:
Roll a ball similar in size to the rabbit. Gently pinch the top corners to form two triangular ears directly from the main body mass. -
Refine the Shape:
Smooth the area between the ears to create a forehead. Keep the overall form round and chubby. -
Texture the Coat:
Using a needle tool, poke random small holes across the lower body to give a speckled, textured appearance. -
Etch the Face:
Carefully draw three horizontal lines on each cheek for whiskers. Add a tiny triangle nose and dot eyes using your tool.
Magnetize Them
Make your buddies functional by embedding a strong, small magnet into the back of each figure before baking for adorable fridge decor.
Step 4: Finishing Up
-
Cure the Clay:
If using polymer clay, bake according to the package instructions (usually around 275°F/130°C for 15-30 minutes). If using air-dry clay, let them sit for 24-48 hours. -
Final Details:
Once cool and dry, enhance the eyes and noses with a touch of black paint or a marker if you didn’t use clay for these details.
Display your trio together on a shelf or desk for a daily dose of handmade cuteness


Simple Photo or Card Holders
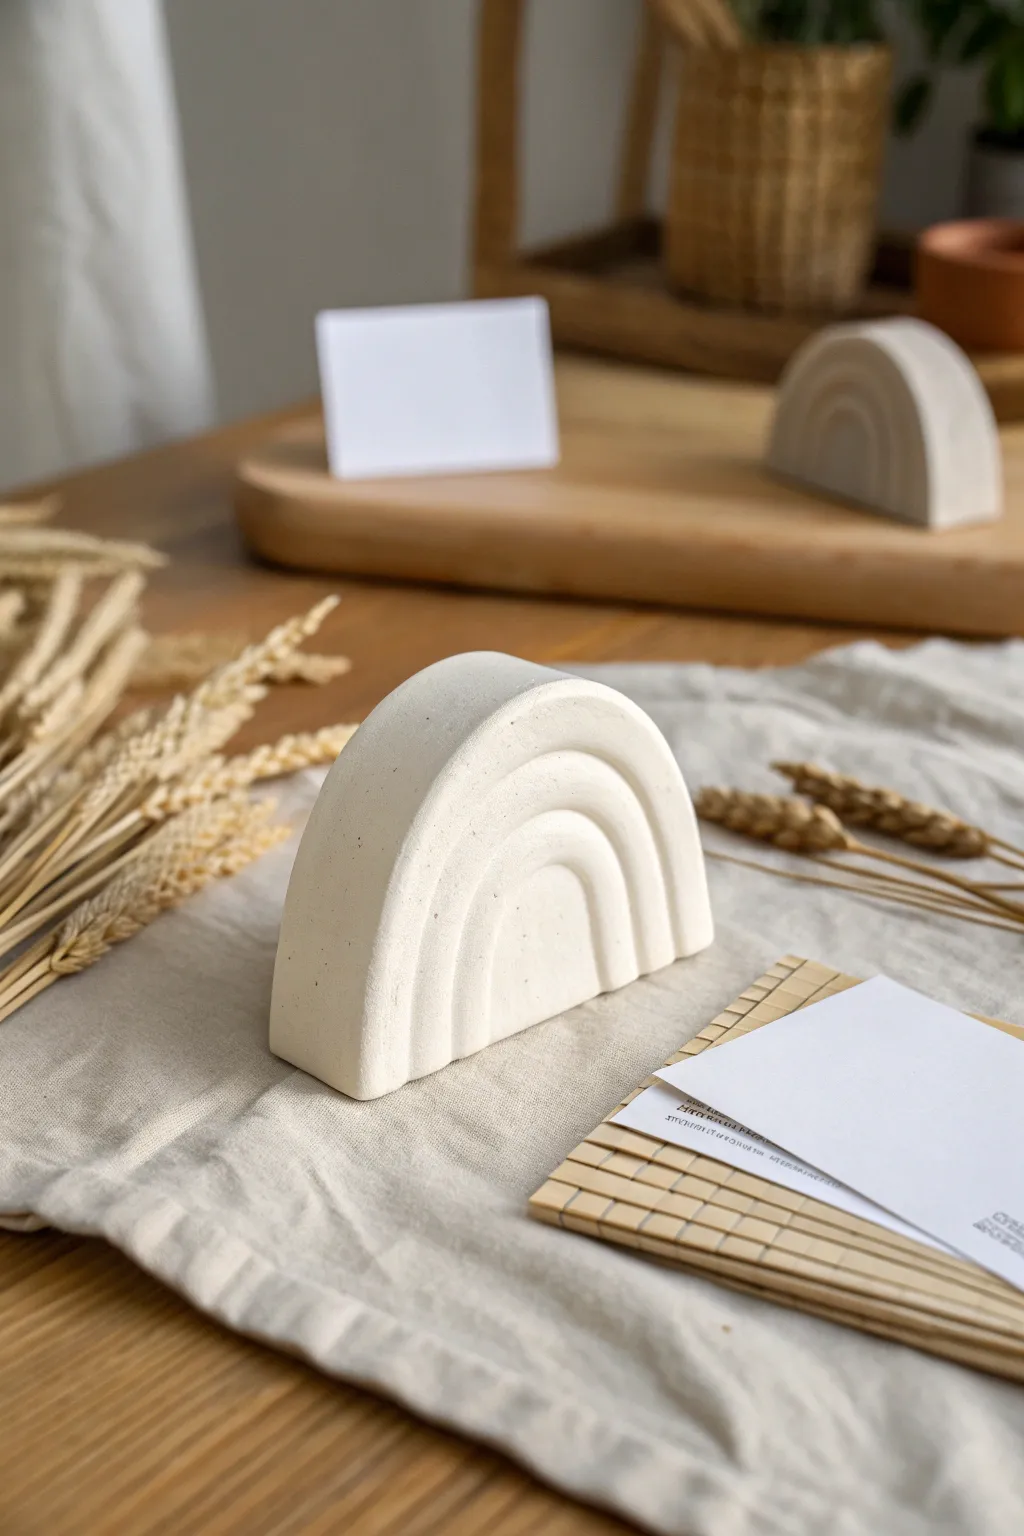
This elegant card holder combines functionality with a soft, minimalist aesthetic, perfect for displaying photos, business cards, or table numbers. Using simple air-dry clay, you’ll create a smooth, rainbow-shaped arch that adds a touch of modern charm to any desk or shelf.
Step-by-Step Tutorial
Materials
- White air-dry clay (approx. 200g)
- Rolling pin
- Sharp crafting knife or clay blade
- Sandpaper (fine grit)
- Ruler
- Small bowl of water
- Optional: White acrylic paint and matte sealer
- Parchment paper or craft mat
Step 1: Shaping the Base
-
Prepare the Clay:
Start by taking a generous amount of white air-dry clay and kneading it in your hands until it’s soft, pliable, and free of cracks. -
Roll the Slab:
Place the clay on your parchment paper and use the rolling pin to flatten it into an even slab. You want this to be quite thick so it can stand upright—aim for a thickness of about 1 inch (2.5 cm). -
Cut the Base Shape:
Using your crafting knife, cut a clean straight line along the bottom edge of the slab to create a flat base. This ensures your holder will stand steadily. -
Form the Arch:
Freehand cut an arch shape above your flat base line. If you prefer precision, you can lightly sketch the semi-circle with a toothpick first, or trace around a circular object like a bowl rim. -
Refine the Edges:
Dip your finger in a little bit of water and run it along the cut edges. Smooth down any roughness or sharp clay burrs to get that soft, rounded look.
Step 2: Creating the Rainbow Details
-
Mark the Arches:
On the front face of your arch, use a toothpick to very lightly mark out three concentric arches. These will guide your carving to create the rainbow effect. -
Carve the Grooves:
Using a carving tool or the tip of your knife, carefully carve V-shaped grooves along your marked lines. You want distinct separation between the ‘bands’ of the rainbow. -
Emphasize Depth:
I like to go over the grooves a second time, slightly widening them to ensure the shadows will be visible once dried. The depth creates the visual texture. -
Curving the Bands:
Gently round off the surface of each individual rainbow band with your fingers or a smoothing tool. They should look convex and puffy rather than completely flat.
Crack Prevention
If you see tiny cracks forming while drying, dampen your finger and smooth a tiny bit of fresh clay paste into the fissure immediately.
Step 3: Making the Holder Slot
-
Cut the Slot:
On the very top center of the arch, use your knife or a thin spatula to press a slit straight down into the clay. This is where your card will sit. -
Check Depth:
The slit should go about halfway down into the arch to hold deeper cards securely, but ensure you don’t cut all the way through. -
Widen Slightly:
Wiggle the blade very slightly back and forth to widen the slot just enough for a piece of heavy cardstock to slide in easily.
Terrazzo Effect
Mix small colored clay chips into your white clay base before rolling it out for a trendy, speckled terrazzo stone look.
Step 4: Finishing Touches
-
Final Smoothing:
Do one last pass with a damp sponge or finger to erase any fingerprints and ensure the rainbow curves are smooth. -
Drying Time:
Let the piece dry upright in a cool, dry place. Because it is thick, allow at least 48 hours for it to fully cure and turn completely white. -
Sanding:
Once fully dry, use fine-grit sandpaper to gently buff the surface. Focus on the bottom edges and the top curve to make them silky smooth. -
Dusting Off:
Wipe away all sanding dust with a dry cloth or soft brush. -
Optional Painting:
If you want an ultra-white finish, apply a coat of white acrylic paint. Otherwise, the natural clay finish often looks lovely and organic on its own.
Place a favorite photo or quote card in the slot to instantly elevate your workspace decor


Rainbow Arch Desk Decor
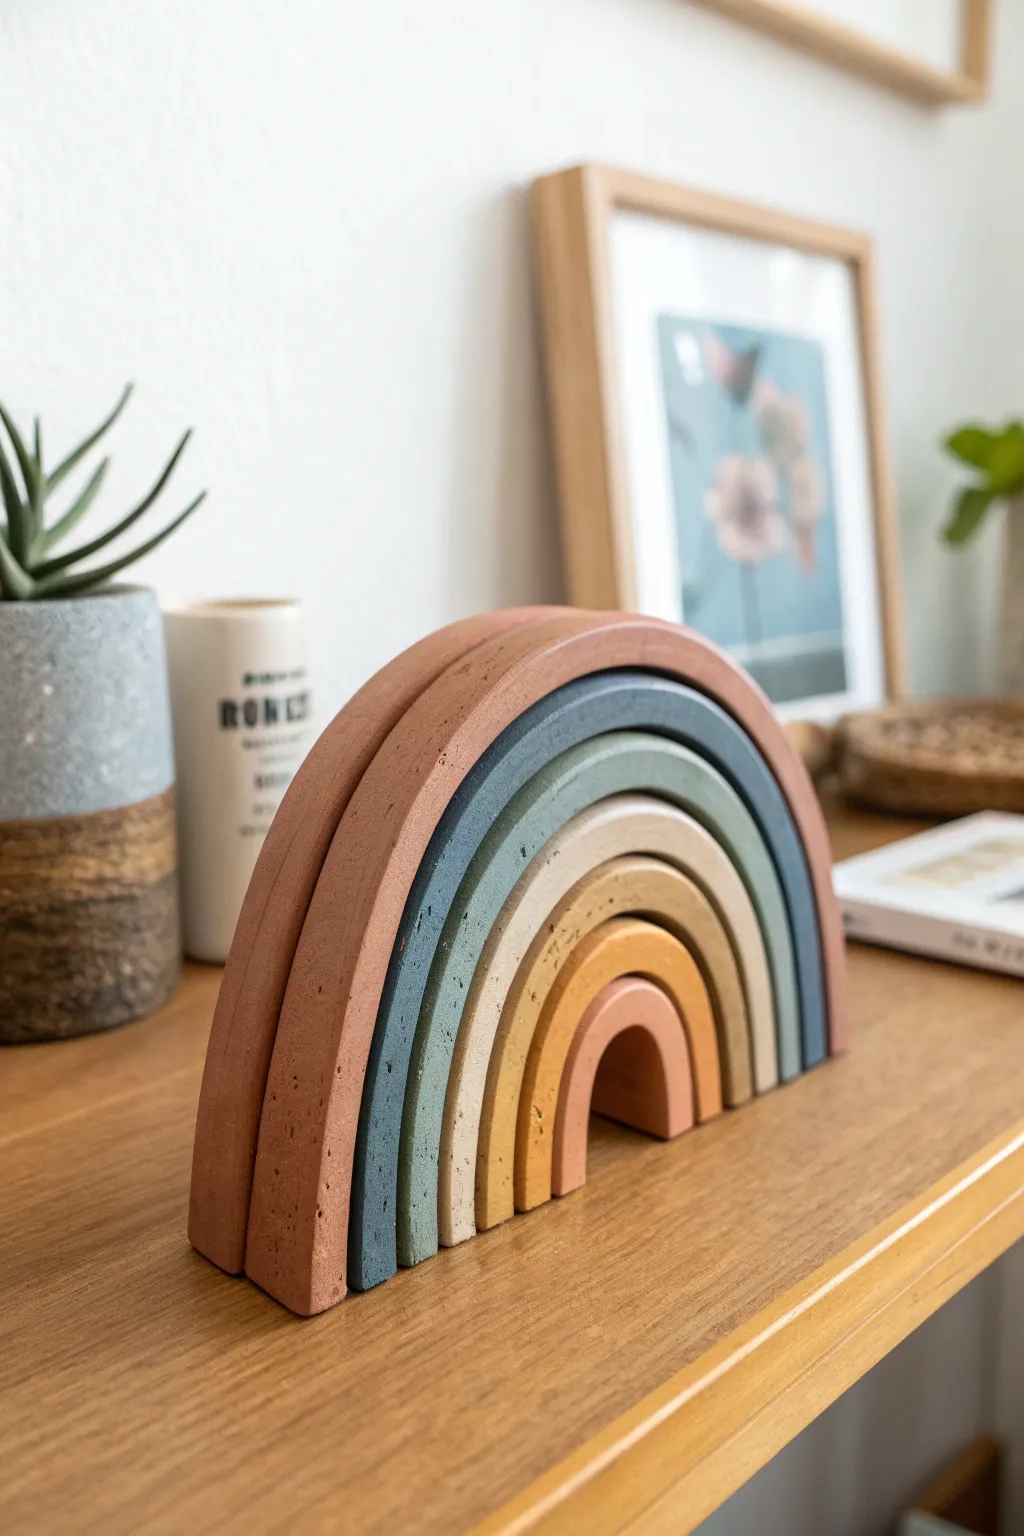
This rustic rainbow arch brings a touch of calm, earthy warmth to any desk or shelf with its muted tones and beautiful matte texture. Perfect for beginners, this project relies on simple shaping techniques to create a stacking sculpture that looks effortlessly chic.
Step-by-Step Tutorial
Materials
- Air-dry clay (white or terracotta)
- Acrylic paints (terracotta, slate blue, sage green, cream, mustard yellow)
- Rolling pin
- Sharp crafting knife or clay wire cutter
- Cardboard or cardstock (for templates)
- Fine-grit sandpaper
- Small bowl relative to the size of your smallest arch
- Clear matte varnish (spray or brush-on)
- Mixing palette
- Paintbrushes (flat and detail)
Step 1: Preparation & Templating
-
Design your arches:
Before touching the clay, draw a set of nested semi-circles on a piece of thick paper or cardboard. Start with a small inner arch about 2 inches wide and draw 5-6 progressively larger arches around it, keeping the gap between lines consistent (about 0.5 to 0.75 inches for thickness). -
Cut the templates:
Cut out these arched shapes carefully. You’ll use these as guides to cut your clay later, ensuring every piece fits snugly inside the next one. -
Condition the clay:
Take a large chunk of air-dry clay and knead it well. You want it warm and pliable to reduce cracking. If the clay feels dry, dab a tiny amount of water onto your fingers while kneading.
Uneven Drying?
If your clay curls up while drying, place a lightweight book on top of the pieces (with parchment paper in between) during the first few hours of drying to keep them flat.
Step 2: Shaping the Rainbow
-
Roll the slab:
Using your rolling pin, roll the clay out into a large, even slab. Aim for a thickness of about 3/4 inch. It needs to be thick enough to stand independently once dry. -
Cut the largest arch:
Place your largest cardboard template on the slab. Using your sharp knife, cut straight down into the clay along the template edges. Try to keep the blade perpendicular to the table for clean, straight sides. -
Cut the remaining arches:
Repeat this process for all the smaller arch templates. I find it helpful to wipe the blade clean between cuts to prevent dragging bits of clay. -
Smooth the edges:
Dip your finger in a little water and run it along the cut edges of each arch to soften any sharpness. You want a distinct shape, but not a razor-sharp corner. -
Test the fit:
While the clay is still wet, gently nudge the arches together on your work surface to check the fit. If one is too tight, trim a sliver off the inner edge now. -
Texturizing (Optional):
To achieve the stone-like look in the photo, gently press a rough sponge or a crumbled ball of foil against the surface of the wet clay to create tiny pits and texture. -
Let it dry:
Place the arches flat on a wire rack or a piece of parchment paper. Let them dry completely for 24-48 hours. Turn them over halfway through so the bottom dries evenly.
Step 3: Sanding & Painting
-
Sand imperfections:
Once fully hard, use fine-grit sandpaper to smooth out any major bumps on the flat faces or edges. Don’t over-sand if you want to keep that rustic texture. -
Mix your palette:
Prepare your acrylic paints. The look we rely on uses muted, ‘dusty’ colors. Mix a little grey or brown into your blues and yellows to desaturate them. -
Paint the outer arch:
Start with the largest arch. Paint it a deep terracotta or rusty pink color. Use multiple thin coats rather than one thick one to avoid brush strokes. -
Paint the cool tones:
Paint the next two arches in slate blue and a dusty sage green respectively. Getting paint into the textured pits mimics the look of dyed concrete. -
Paint the warm tones:
Finish the inner arches with cream, mustard yellow, and finally a soft peach or lighter terracotta for the smallest center piece. -
Dry and inspect:
Allow the paint to dry fully. Check for any white clay spots showing through, especially in the corners or texture pits, and touch them up. -
Seal the piece:
Apply a coat of clear matte varnish. This protects the paint and gives the piece a unified finish without making it shiny, preserving that raw clay aesthetic.
Stone Effect
Mix a teaspoon of baking soda into your acrylic paint. This creates a fluffy, gritty texture that looks exactly like faux heavy stone or concrete when dry.
Now stack your colorful arches together and enjoy the serene, modern vibe they bring to your space


Mini Shelf Scene in Clay
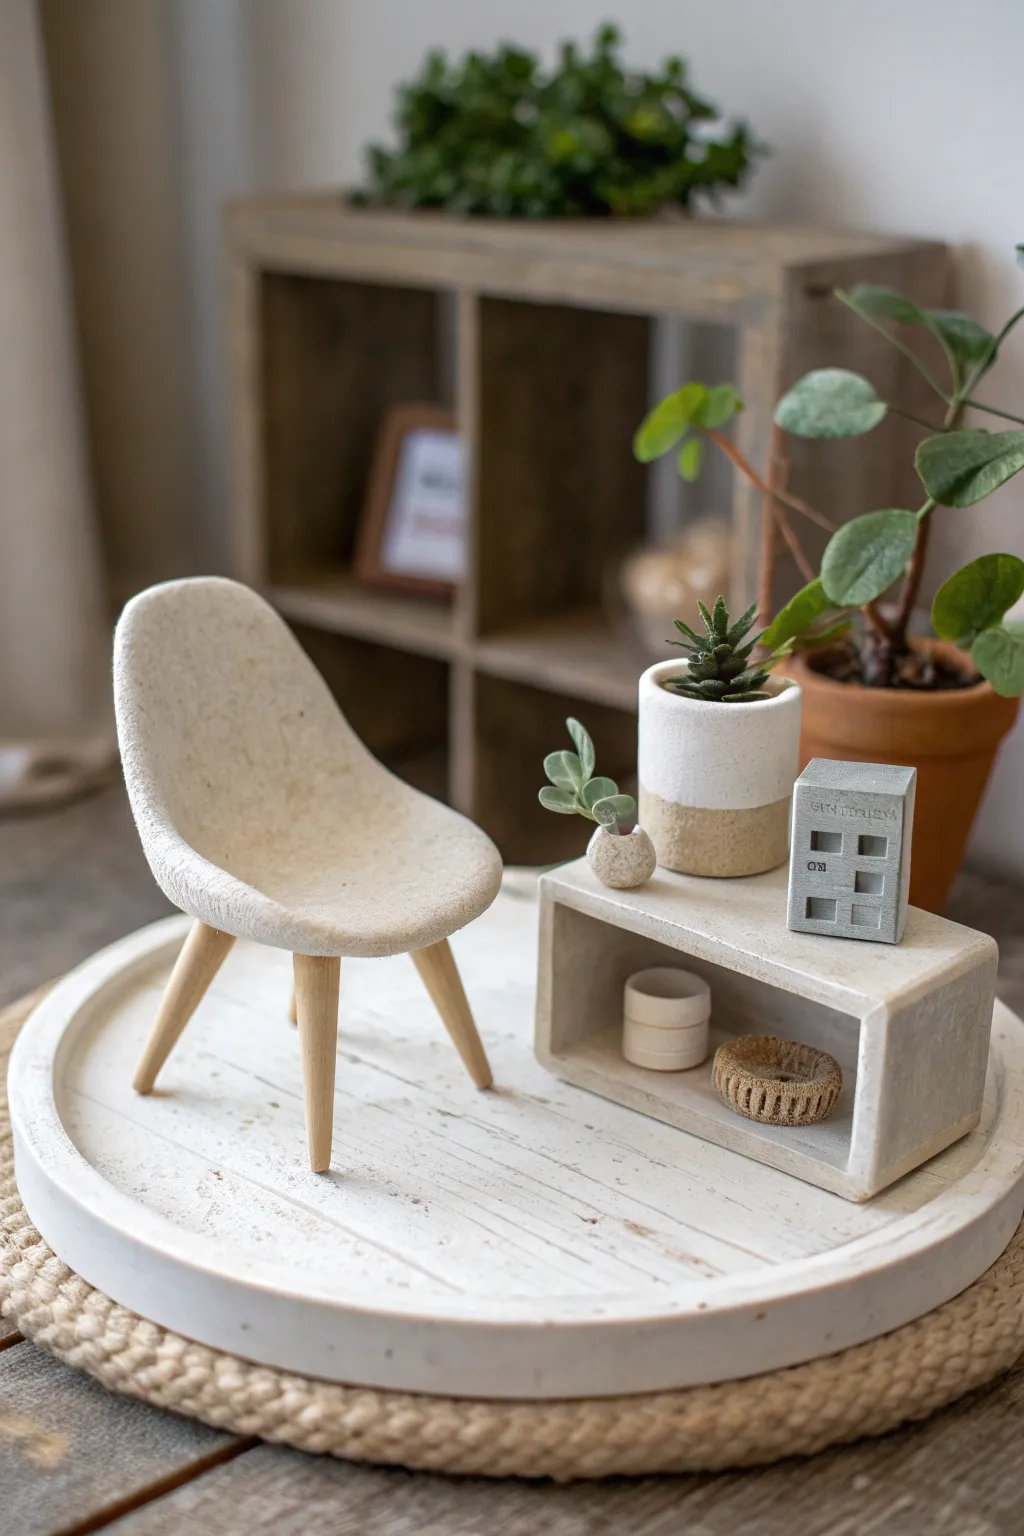
Create a tiny slice of mid-century modern style with this charming miniature furniture set. This project combines air-dry or polymer clay with simple woodwork to craft a cozy reading nook perfect for display or a dollhouse.
Step-by-Step
Materials
- White polymer clay or air-dry clay (stone texture optional)
- Grey polymer clay
- Small wooden dowels (approx. 3-4mm diameter)
- Sandpaper (fine grit)
- Craft knife or scalpel blade
- Rolling pin
- Super glue or strong craft glue
- Acrylic paints (white, beige, optional grey)
- Small circular cutter (or a bottle cap)
- Ruler
- Small faux succulent cuttings
- Toothpick or needle tool
Step 1: Sculpting the Eames-Style Chair
-
Roll the seat base:
Start by conditioning a ball of white stone-textured clay until it is soft. Roll it into an oval shape about 1/4 inch thick, slightly wider at one end for the seat back. -
Shape the curvature:
Gently press your thumb into the center of the oval to create a hollow. While supporting the clay, bend the wider end upward to form the backrest and curve the sides slightly inward to mimic the iconic shell chair shape. -
Smooth the edges:
Dip your finger in a little water (if using air-dry clay) or baby oil (for polymer) and run it along the rim of the chair to soften any sharp edges, giving it an organic, felt-like look. -
Prepare the legs:
Cut four pieces of wooden dowel, each about 1.5 inches long. Sand the cut ends so they are angled slightly to help the legs splay outward. -
Attach the legs:
Flip the clay seat over. Gently press the angled ends of the dowels into the underside of the clay to make indentations. Remove them, add a tiny drop of glue (if baking later, use liquid clay; if air drying, use craft glue), and reinsert the legs. Adjust until the chair stands evenly.
Seamless Smoothness
Use a little baby oil on your finger to smooth out fingerprints on polymer clay before baking. It saves sanding time later.
Step 2: Building the Concrete Shelf
-
Create the slab:
Roll out grey or stone-effect clay into a long, even strip, approximately 3/4 inch wide and 1/4 inch thick. Use a ruler and craft knife to trim the edges so they are perfectly straight. -
Form the box shape:
Measure and cut the strip into four pieces: two long pieces for the top/bottom and two shorter pieces for the sides. Assemble them into a rectangle, blending the seams on the outside with a modeling tool so it looks like a single cast piece. -
Texture the surface:
Lightly tap the exterior with a crumpled ball of aluminum foil or a stiff paintbrush to create a realistic concrete texture. -
Make the accessories:
Roll a tiny cylinder of white clay for a pot. Using a darker grey clay, sculpt a tiny block shape for the house decor, using a needle tool to impress square ‘windows’ onto the front. -
Final drying or baking:
Place all clay components on a parchment-lined tray. If using polymer clay, bake according to the package instructions (usually 275°F for 15-30 minutes). If using air-dry clay, let them cure for 24-48 hours.
Step 3: Assembly & Finishing Touches
-
Paint the two-tone pot:
Once the tiny pot is dry, wrap a piece of tape around the middle. Paint the bottom half beige to mimic raw ceramic and leave the top white. -
Add greenery:
Snip tiny tips off plastic succulents. Place a dab of glue inside your clay pot and insert the greenery. I find tweezers really help with this delicate step. -
Stage the scene:
Arrange the tiny shelf and chair on a coaster or round tray. Place the house decor on top of the shelf and tuck the small pot onto the surface. -
Add a rug texture:
For the circular base shown in the photo, you can use a large round coaster or paint a round piece of heavy cardstock white, adding scratches with sandpaper for a distressed wood effect.
Cozy Up the Chair
Glue a small scrap of real felt or fabric to the seat of the chair for added texture and a pop of color.
Enjoy arranging your miniature furniture into the perfect little reading spot