
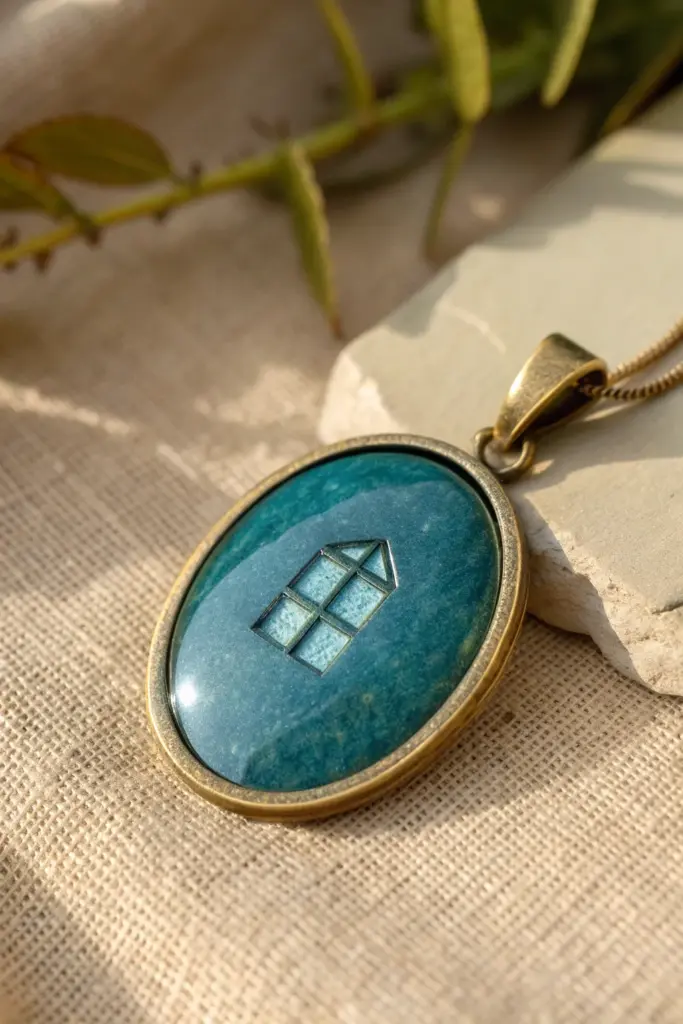
Epoxy clay is one of my favorite mediums when I want something that feels super polished but still totally doable at the kitchen table. Here are my go-to epoxy clay ideas—from classic jewelry basics to the fun, unexpected little tricks that make pieces look extra special.
Simple Bezel-Fill Pendant
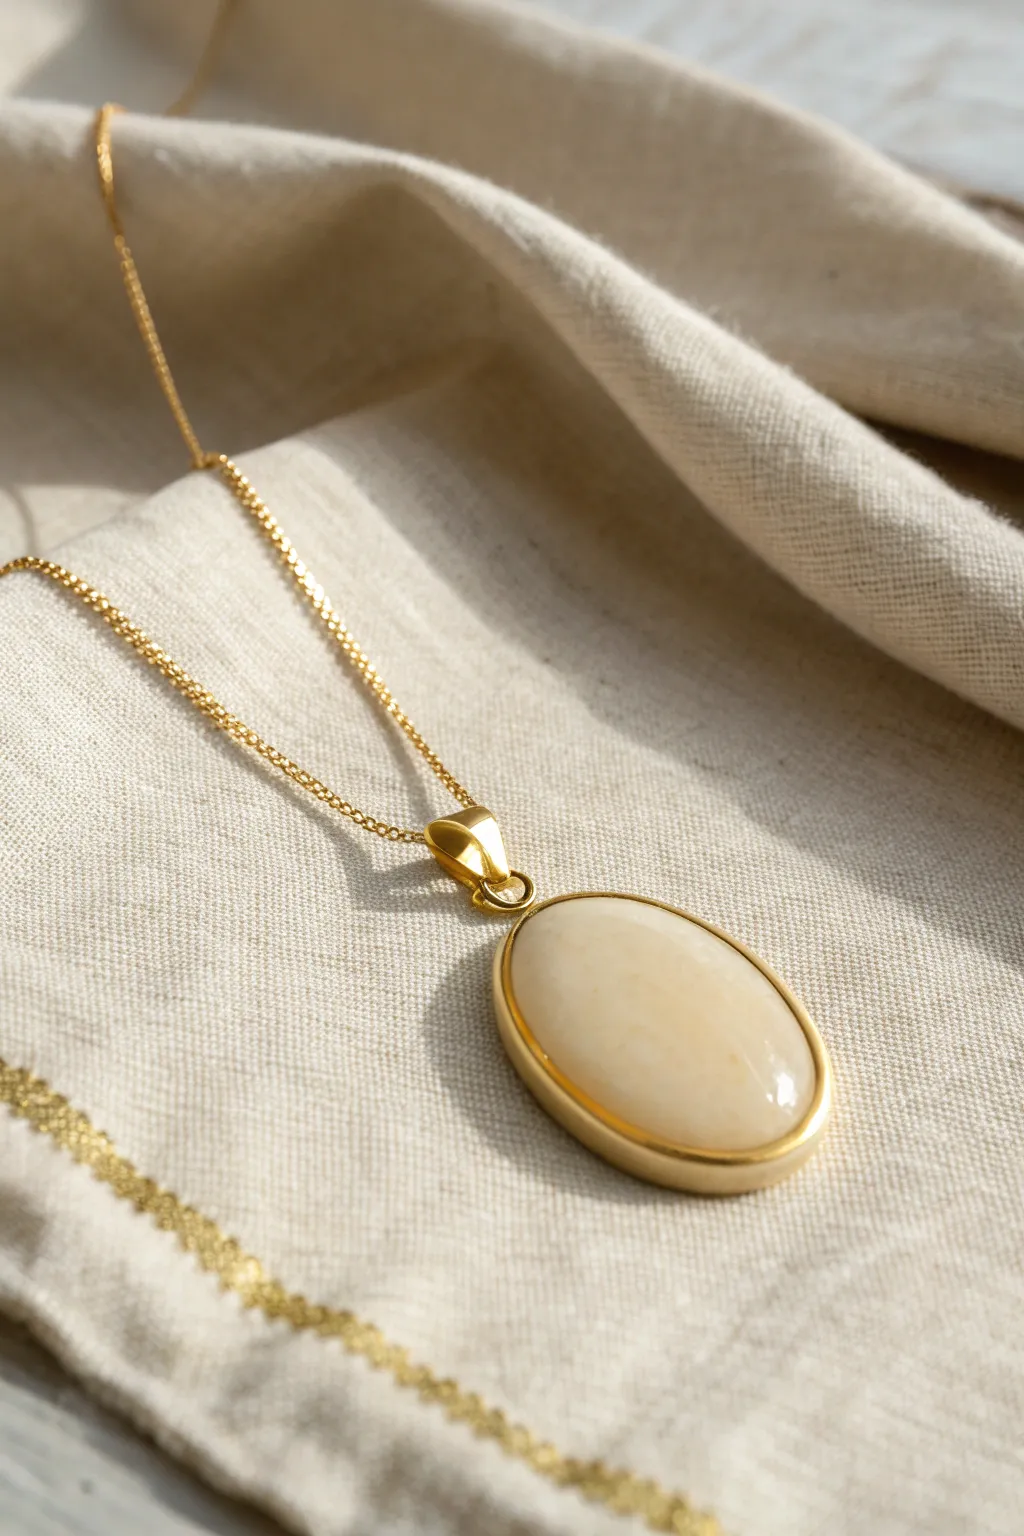
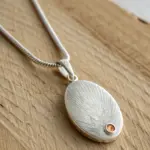
Recreate the look of polished natural stone with this elegant epoxy clay project. By mixing a soft cream tint into two-part clay, you can achieve a glossy, high-end finish that fits perfectly inside a simple gold oval bezel.
Step-by-Step Guide
Materials
- Two-part epoxy clay (white)
- Oval bezel pendant tray (gold finish)
- Gold finish chain necklace
- Pearly white or cream pigment powder (mica powder works well)
- Small splash of alcohol ink (ivory or warm beige, optional)
- Disposable gloves
- Cornstarch or baby powder (for handling)
- Smooth rolling pin or acrylic block
- Clean crafting mat
- Wet wipes
- Cotton swabs
- High-gloss varnish or UV resin (for the top coat)
Step 1: Preparation and Mixing
-
Prepare your workspace:
Lay down your crafting mat and have your wet wipes ready. Clean the inside of your gold oval bezel with a little rubbing alcohol on a cotton swab to ensure it is free of oils or dust, which helps the clay adhere better. -
Measure the clay:
Pinch off equal parts of Part A and Part B of your white epoxy clay. You won’t need much—roughly enough to fill the bezel volume plus a tiny excess. Aim for two pea-sized balls. -
Mix the clay components:
Put on your gloves. Knead the two parts of clay together thoroughly for at least two to three minutes. The mixture must be completely uniform in color with no streaks remaining to ensure it cures properly. -
Add pigmentation:
Flatten your mixed clay into a small pancake. Add a very small amount of pearl mica powder to the center. If you want that slightly warmer, milky tone seen in the photo, add a microscopic drop of ivory alcohol ink. -
Incorporate the color:
Fold the clay over the pigment and knead it again until the color is fully integrated. If the clay becomes too sticky from the heat of your hands, dab a tiny bit of cornstarch on your fingertips.
Step 2: Shaping and Setting
-
Test the volume:
Roll your colored clay into a smooth ball. Place it centrally into the bezel tray to gauge the size. You want enough clay to create a subtle dome, but not so much that it spills over the metal rim. -
Adjust the amount:
If the ball looks too big, pinch off a tiny amount. It is much easier to add small bits back in than to clean up a messy overflow later. -
Press into the bezel:
Gently press the clay ball into the bezel, working from the center outward toward the edges. Use your thumb to spread it so it makes full contact with the metal walls. -
Smooth the surface:
The goal is a completely smooth, stone-like finish. Dip your finger in a little water and glide it heavily over the surface of the clay to remove any fingerprints. -
Create the dome:
I find that lightly brushing the surface in a circular motion helps create that perfect, gentle curve. Check the profile view to ensure the dome is even and not lopsided. -
Clean the edges:
If any clay residue smudged onto the gold rim of the bezel, use a damp cotton swab or a toothpick to carefully scrape it away before it begins to harden.
Sticky Situation?
If the clay is too sticky to smooth out, wait about 15-20 minutes. As epoxy clay begins its chemical reaction, it firm up slightly, making it much easier to smooth without sticking to your skin.
Step 3: Finishing Touches
-
Allow to cure:
Set the pendant on a flat surface where it won’t be disturbed. Let the epoxy clay cure fully according to the manufacturer’s instructions, which typically takes about 24 hours. -
Check for imperfections:
Once hard, inspect the surface. If you see any tiny lint or bumps, you can very gently sand them away with ultra-fine sandpaper (2000 grit or higher), though skipping this preserves the matte clay look. -
Add a glossy top coat:
To mimic the polished look of the gemstone in the photo, apply a thin layer of high-gloss varnish or a dome of UV resin over the clay. This adds depth and that signature shine. -
Cure the top coat:
Allow the varnish to dry completely or cure the UV resin under a lamp. This protective layer also keeps the light-colored clay from getting dirty over time. -
Assemble the necklace:
Slide your finished pendant onto the gold chain. Ensure the bail (the loop at the top) creates a nice contrast against the creamy color of your faux stone.
Marble Effect
Before the final knead, add a tiny sliver of beige or grey clay. Twist it just once or twice without fully blending. This creates a realistic natural stone marbling effect.
Now you have a timeless, classic piece of jewelry that looks like genuine gemstone but was shaped by your own hands
Terrazzo Speckle Earrings
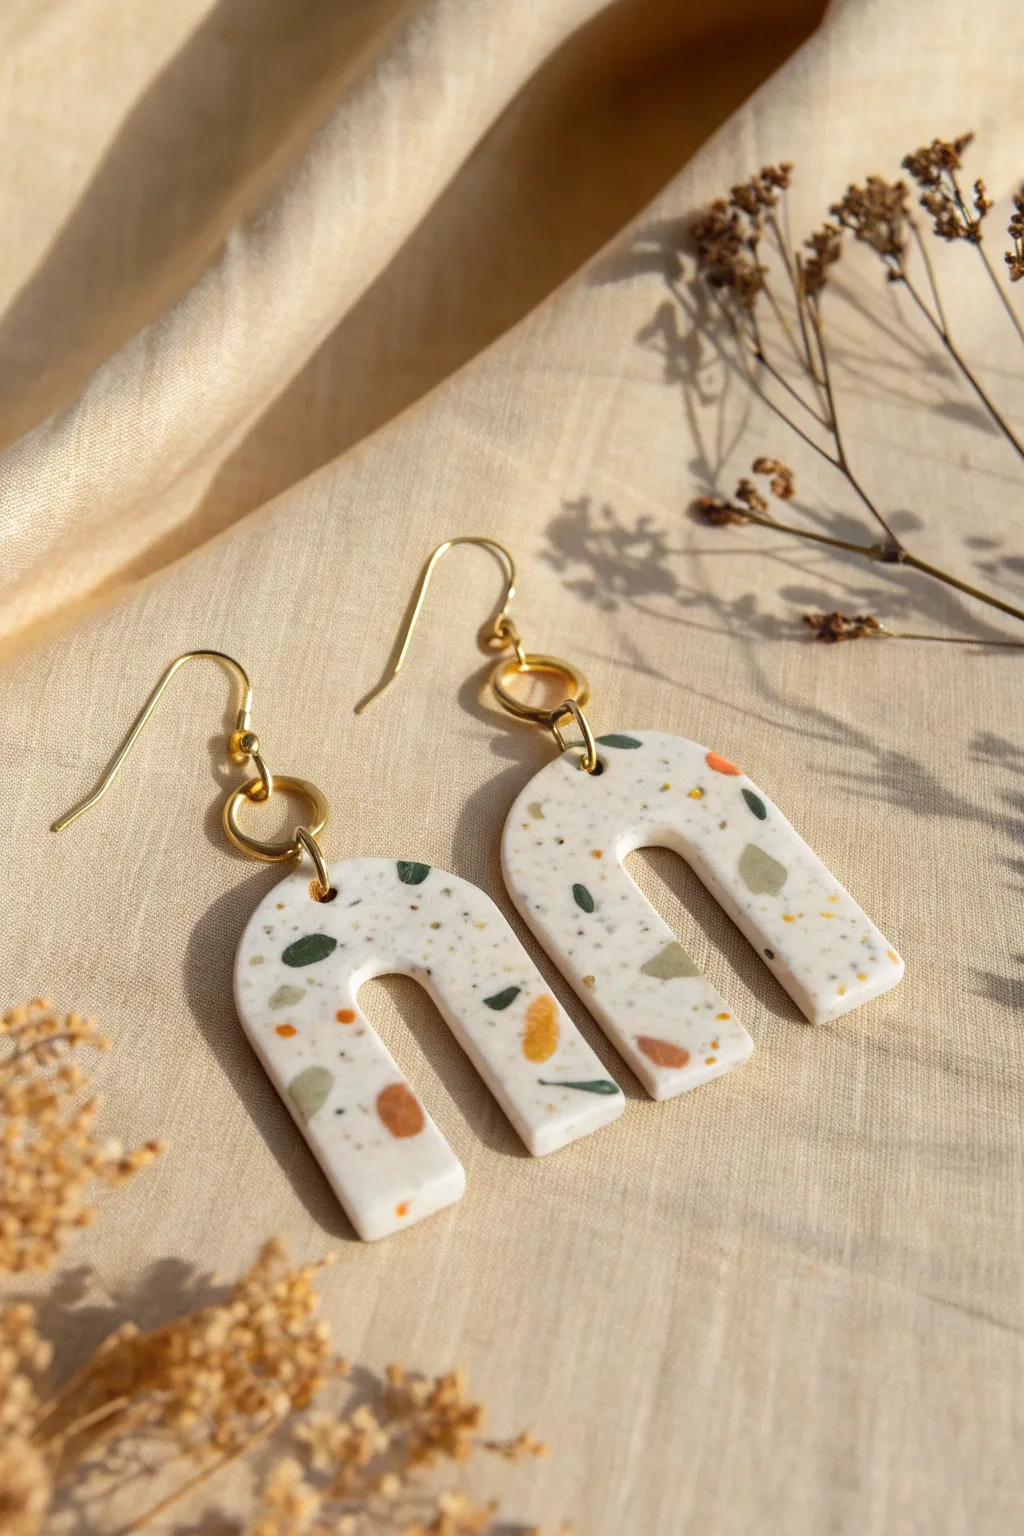
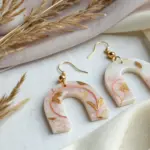
These stylish U-shaped earrings feature a classic terrazzo look created with epoxy clay, blending a creamy white base with earthy speckles of green, rust, and mustard. The finished pieces have a smooth, stone-like finish and are lightweight enough for everyday wear.
How-To Guide
Materials
- White epoxy clay (Part A and Part B)
- Small amounts of colored polymer clay or chopped epoxy clay (rust, moss green, mustard yellow, brown)
- Small U-shape or Arch clay cutter
- Rolling pin or acrylic roller
- Parchment paper or silicone mat
- Craft knife or tissue blade
- Hand drill or pin tool
- Sandpaper (various grits: 400, 600, 1000)
- 2 Gold jump rings (6mm or 8mm)
- 2 Gold French hook ear wires
- Jewelry pliers (flat nose)
- Polishing cloth or denim scrap
Step 1: Preparing the Terrazzo Mixture
-
Prepare the ‘chips’:
If you don’t have pre-hardened colored clay bits, start by taking tiny amounts of colored clay (mustard, rust, green, brown) and flattening them into very thin sheets. Bake or cure these according to package instructions until hard, then chop them into tiny, irregular shards using a craft blade. -
Mix the base clay:
Take equal parts of Part A and Part B of your white epoxy clay. Mix them thoroughly by kneading them together until the color is completely uniform and no streaks remain. -
Incorporate the chips:
Flatten the mixed white clay slightly and sprinkle your prepared colored shards onto it. Fold the clay over the shards and knead gently to distribute them throughout the white base. -
Repeat kneading:
Continue folding and kneading just enough to disperse the colors evenly without breaking the chips down too much or muddying the white base.
Step 2: Shaping and Curing
-
Roll out the slab:
Place the speckled clay on parchment paper or a silicone mat. Use an acrylic roller to roll it out to a uniform thickness, ideally around 3mm to 4mm thick. -
Cut the shapes:
Press your U-shaped cutter firmly into the clay slab. Wiggle it slightly to ensure a clean cut, then lift the cutter. If the clay sticks, you can gently pop it out. -
Smooth the edges:
Before the clay sets, lightly run your finger along the cut edges to soften any sharp ridges or rough spots left by the cutter. -
Pierce holes:
Use a pin tool to make a hole at the top center of the arch for the jump ring. Ensure the hole is large enough for your hardware but not too close to the edge. -
Allow to cure:
Set the shapes aside on a flat surface to cure completely. Epoxy clay typically air dries and hardens within 24 hours, but check your specific brand’s instructions.
Clean Cuts
To prevent the epoxy clay from sticking to your cutter, dip the cutting edge into cornstarch or water before pressing it into the slab.
Step 3: Finishing and Assembly
-
Sand for the reveal:
Once fully hard, wet-sand the surface using 400-grit sandpaper. This is the magic step where the top layer of white clay is removed to clearly reveal the colored chips beneath. -
Refine the finish:
Progress to 600-grit and then 1000-grit sandpaper to remove scratches and achieve a buttery smooth surface. Don’t forget to sand the edges as well. -
Drill if needed:
If your pierced holes closed up during curing or sanding, use a small hand drill to carefully reopen them. -
Polish (optional):
For a subtle sheen, rub the earrings vigorously with a piece of denim or a polishing cloth. I find this gives it a lovely semi-matte glow without needing varnish. -
Open jump rings:
Use two pairs of flat nose pliers to twist open a gold jump ring. Remember to twist sideways (front to back), not pull apart. -
Attach hardware:
Slide the open jump ring through the hole in the clay arch, then slip the loop of the French hook ear wire onto the jump ring. -
Close the rings:
Use your pliers to twist the jump ring back into a closed position, ensuring the ends meet perfectly flush. -
Final check:
Repeat for the second earring and wipe them down with a soft cloth to remove any sanding dust before wearing.
Add Metallic Flakes
For a luxe touch, mix gold leaf flakes into the white clay along with the colored chips. When sanded, the gold will catch the light beautifully.
Enjoy your custom terrazzo earrings, a perfect blend of modern design and handmade charm
Botanical Press-In Pendant
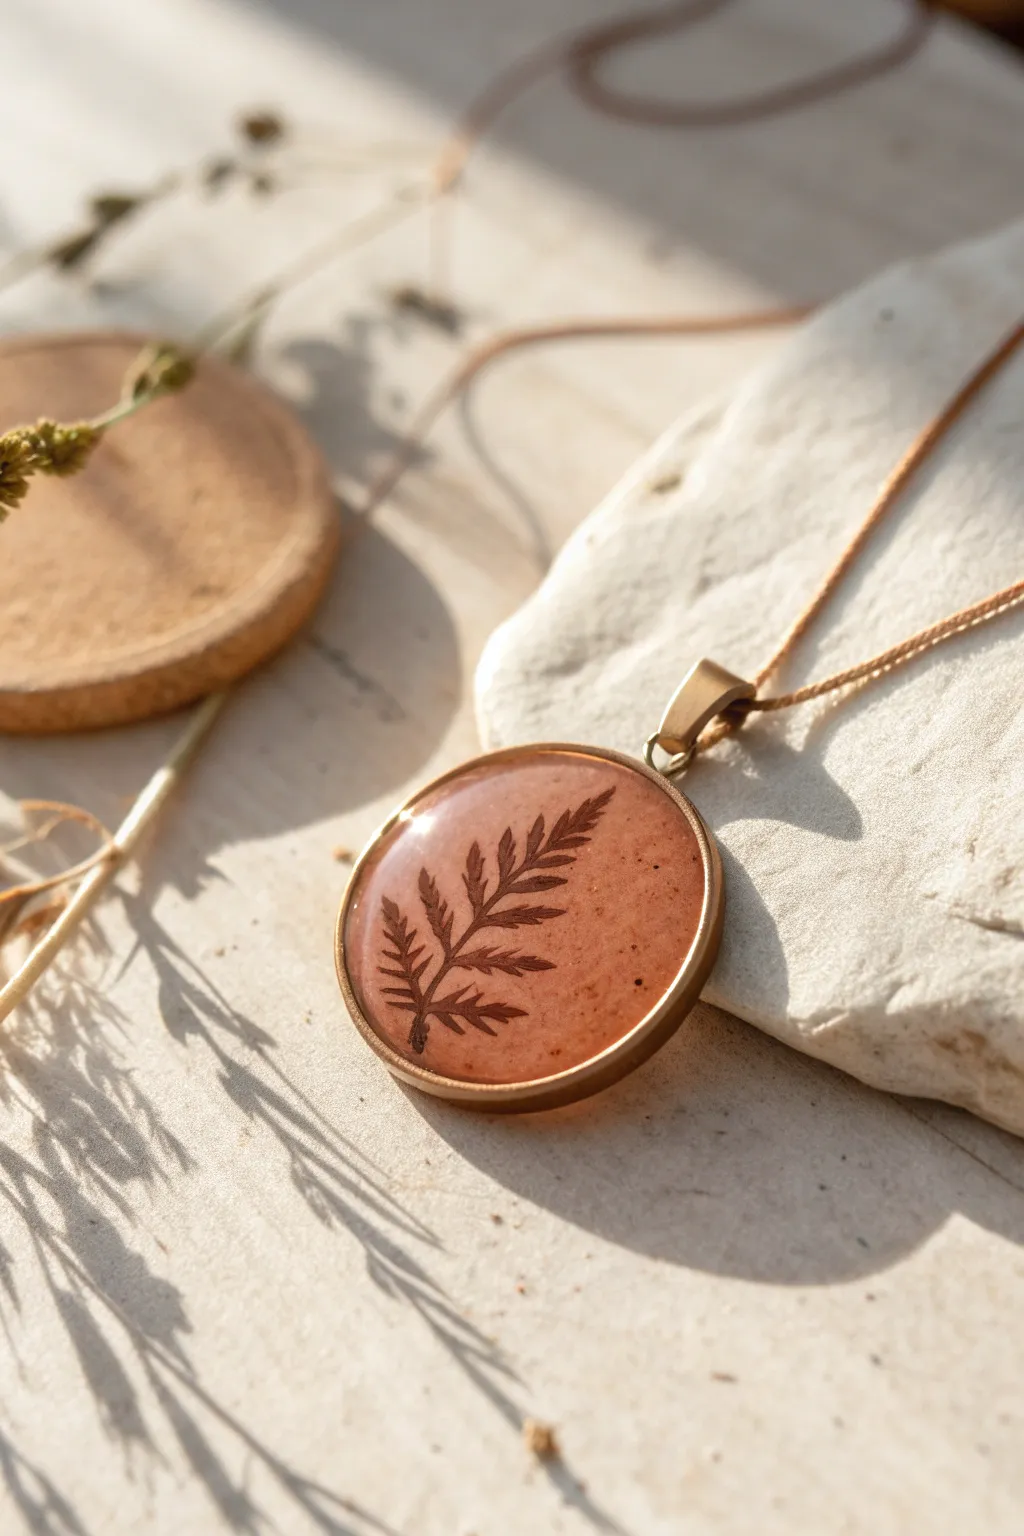
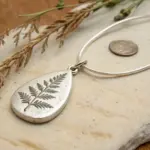
Capture the delicate beauty of nature with this elegant pendant that combines the durability of epoxy clay with a glossy resin finish. The warm terracotta tones and crisp fern silhouette create a piece that feels like a preserved fossil found on a woodland walk.
Detailed Instructions
Materials
- Epoxy clay (terracotta or reddish-brown color)
- Small dried fern frond (must be pressed flat)
- Round open-back bezel pendant blank (bronze finish)
- UV resin or two-part epoxy resin (clear)
- Dark brown acrylic paint or antiquing medium
- Cotton swabs or lint-free cloth
- Rolling pin or smooth round tool
- Silicone mat
- Tweezers
- UV lamp (if using UV resin)
- Toothpick or needle tool
- Parchment paper
Step 1: Setting the Clay Base
-
Prepare the bezel:
Place your open-back bezel on a piece of parchment paper or a silicone mat. This will prevent the clay from sticking to your work surface. -
Mix the epoxy clay:
Take equal parts of Part A and Part B of your epoxy clay. Knead them together thoroughly until the color is completely uniform and streak-free. -
Fill the frame:
Pinch off a small amount of the mixed clay—just enough to fill the bezel. Press it firmly into the metal frame, ensuring it reaches all the edges and corners. -
Level the surface:
Use a rolling pin or smooth tool to flatten the top of the clay. You want it level with the metal rim, perhaps slightly recessed to leave room for the resin later. -
Smooth imperfections:
Dip your finger in a tiny bit of water and gently smooth out any fingerprints or bumps on the clay surface.
Step 2: Creating the Botanical Impression
-
Position the fern:
Using tweezers, carefully place your dried fern frond onto the center of the soft clay. Decide on the angle before you commit, as moving it later will mar the surface. -
Press evenly:
Place a small piece of plastic wrap over the fern to protect it. Gently rolling over it or pressing with a flat object ensures the entire leaf pushes into the clay. -
Reveal the texture:
Slowly peel back the plastic wrap. Use tweezers to lift the fern away from the clay. Do this straight up to avoid smearing the delicate impression. -
Check the depth:
Inspect the impression. If any areas are too shallow and the clay is still workable, you can try to re-press, but it’s usually safer to accept slight variations. -
Cure the clay:
Allow the epoxy clay to cure completely according to the manufacturer’s instructions. This usually takes 24 hours to become rock hard.
Impression Not Sharp?
If the clay is too soft or sticky, let it sit for 15-20 minutes after mixing. It will firm up slightly, allowing for a cleaner, sharper impression without sticking to the plant material.
Step 3: Antiquing and Finishing
-
Apply dark wash:
Once hardened, dilute a small amount of dark brown acrylic paint with water. Brush this wash over the entire clay surface, making sure it gets deep into the fern crevices. -
Wipe back:
I like to wait just a few seconds before wiping the surface with a damp cloth. The goal is to remove paint from the high flat areas while leaving the dark pigment trapped in the fern indentation. -
Dry thoroughly:
Let the paint dry completely. Any moisture trapped under the next resin layer will cause cloudiness. -
Pour the resin:
Carefully pour a small amount of clear UV resin (or mixed 2-part resin) onto the center of the pendant. Use a toothpick to guide the liquid to the edges of the metal frame. -
Create a dome:
Add just enough resin to create a slight dome effect due to surface tension. Do not overfill or it will spill over the sides. -
Pop bubbles:
Pass a lighter quickly over the surface or use a needle tool to pop any air bubbles that have risen to the top. -
Final cure:
Place the pendant under a UV lamp for a few minutes (or let 2-part resin cure for 24 hours). Ensure it is untouched and dust-free during this time.
Highlight with Gold
For a magical touch, dust a tiny amount of gold mica powder into the fern impression before adding the resin. It catches the light beautifully under the glossy topcoat.
String your new pendant onto a simple cord and enjoy wearing your piece of everlasting nature
Raised Relief Frame Pendant
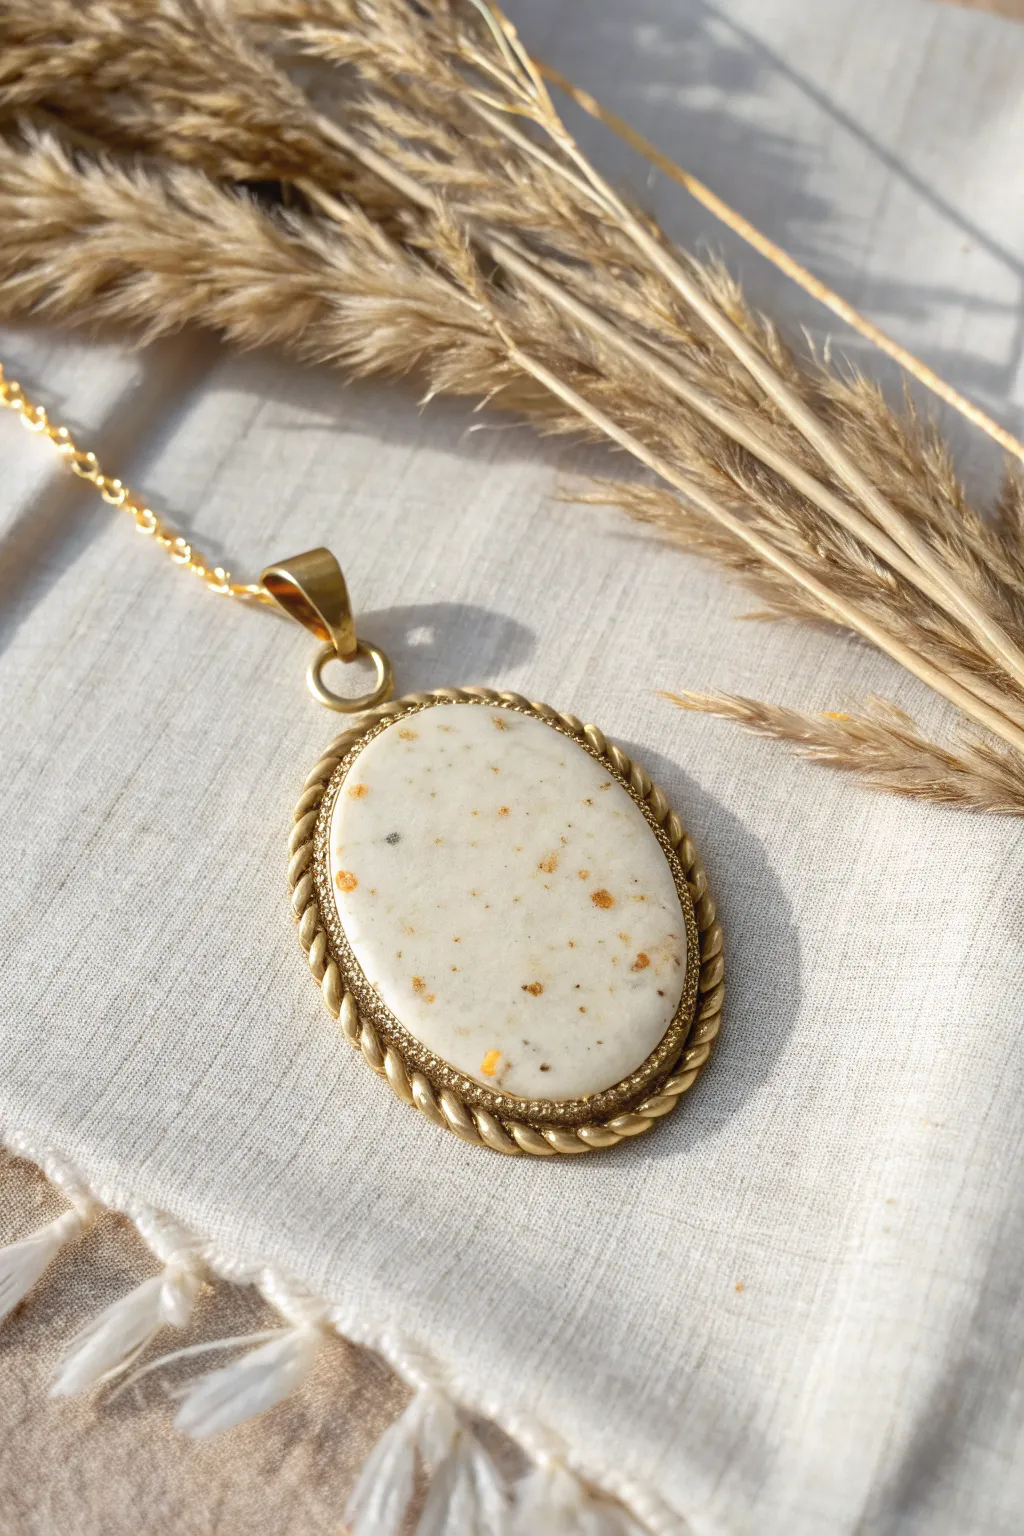
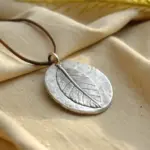
Capture the elegance of vintage jewelry with this sophisticated pendant that combines the versatility of epoxy clay with a classic twisted rope design. You’ll create a realistic speckled stone effect and a rich gold bezel without needing any metalsmithing skills.
Step-by-Step Tutorial
Materials
- Epoxy clay (white component and hardener)
- Oval pendant bezel base (open or closed back)
- Gold mica powder or very fine gold pigment
- Gold metallic acrylic paint
- Glossy varnish or UV resin
- Fine sand, dried herbs, or craft spices (for speckles)
- Sculpting tool or toothpick
- Rolling pin or smooth cylindrical object
- Cornstarch or baby powder (release agent)
- Small paintbrush
- Jump ring and gold chain
Step 1: Creating the Faux Stone Inlay
-
Mix the clay base:
Begin by taking equal parts of parts A and B of your epoxy clay. The total amount should be slightly larger than the size of a grape. Knead them together thoroughly until the color is completely uniform and no streaks remain. -
Add texture elements:
Flatten the mixed clay slightly and sprinkle in a pinch of fine sand, crushed dried herbs (like dill), or even real spices like paprika to create the speckled stone look. Fold and knead the clay again to distribute these particles evenly throughout the mass. -
Tint the clay (optional):
If your epoxy clay is bright white, you might want to add a tiny dot of beige or yellow acrylic paint to warm it up to an ivory tone. Knead it in well, but work quickly as the clay will begin to cure. -
Fill the oval shape:
Press the clay onto a non-stick surface or directly into your bezel if you are using a closed-back setting. Shape it into a smooth, domed oval. I like to use a little cornstarch on my fingers to smooth out fingerprints. -
Check the fit:
Ensure the clay oval is slightly smaller than the final desired pendant size to leave room for the decorative border. If you are not using a pre-made bezel cup, shape the clay into a perfect free-standing oval.
Pro Tip: Realistic Stone
Mix varying sizes of inclusions—use fine sand for the base texture and larger flakes of dried spices for distinct spots. This variety mimics natural geological formations.
Step 2: Sculpting the Rope Border
-
Prepare the border clay:
Mix a second, smaller batch of epoxy clay. Roll this into a very long, thin, even snake. Aim for a thickness similar to a cooked spaghetti noodle. -
Twist the rope:
Fold the snake in half and gently twist the two strands together to create a tight rope pattern. Keep the twisting consistent along the entire length. -
Attach the border:
Wrap this twisted rope around the circumference of your cured or semi-cured faux stone oval. Press it gently against the edge of the stone so it adheres. If the stone is already fully hard, use a tiny bit of liquid adhesive. -
Refine the connection:
Where the two ends of the rope meet, trim the excess carefully with a craft knife. Use a sculpting tool to blend the cut ends together so the seam becomes invisible. -
Add the bail:
While the clay is still soft, embed a jewelry bail or a sturdy jump ring into the top of the pendant structure. Smooth the clay around it to secure it firmly. -
Initial cure:
Let the entire piece set aside to cure fully according to your clay manufacturer’s instructions, usually 24 hours.
Step 3: Finishing and Painting
-
Base coat the gold:
Once hardened, paint the twisted rope border and the back of the pendant with a high-quality metallic gold acrylic paint. You may need two thin coats for full opacity. -
Highlight the metal:
To give the ‘metal’ a more realistic shine, rub a little gold wax paste or dry-brush a lighter gold pigment over the high points of the twisted rope. -
Seal the stone:
Apply a coat of glossy varnish or UV resin over just the central stone area. This mimics the polished look of a real gemstone cabochon and protects the embedded speckles. -
Protective finish:
Seal the gold painted areas with a matte or satin varnish to prevent the paint from chipping during wear. -
Assemble the necklace:
Thread your gold chain through the bail or jump ring to complete your vintage-inspired piece.
Troubleshooting: Sticky Clay
If the clay is too sticky to roll into thin snakes for the rope, let it sit for 15-20 minutes after mixing. It will firm up slightly, making it much easier to handle.
Wear your new handcrafted heirloom with pride knowing it looks just like a vintage treasure
The Complete Guide to Pottery Troubleshooting
Uncover the most common ceramic mistakes—from cracking clay to failed glazes—and learn how to fix them fast.
Embedded Charm Cluster Fills
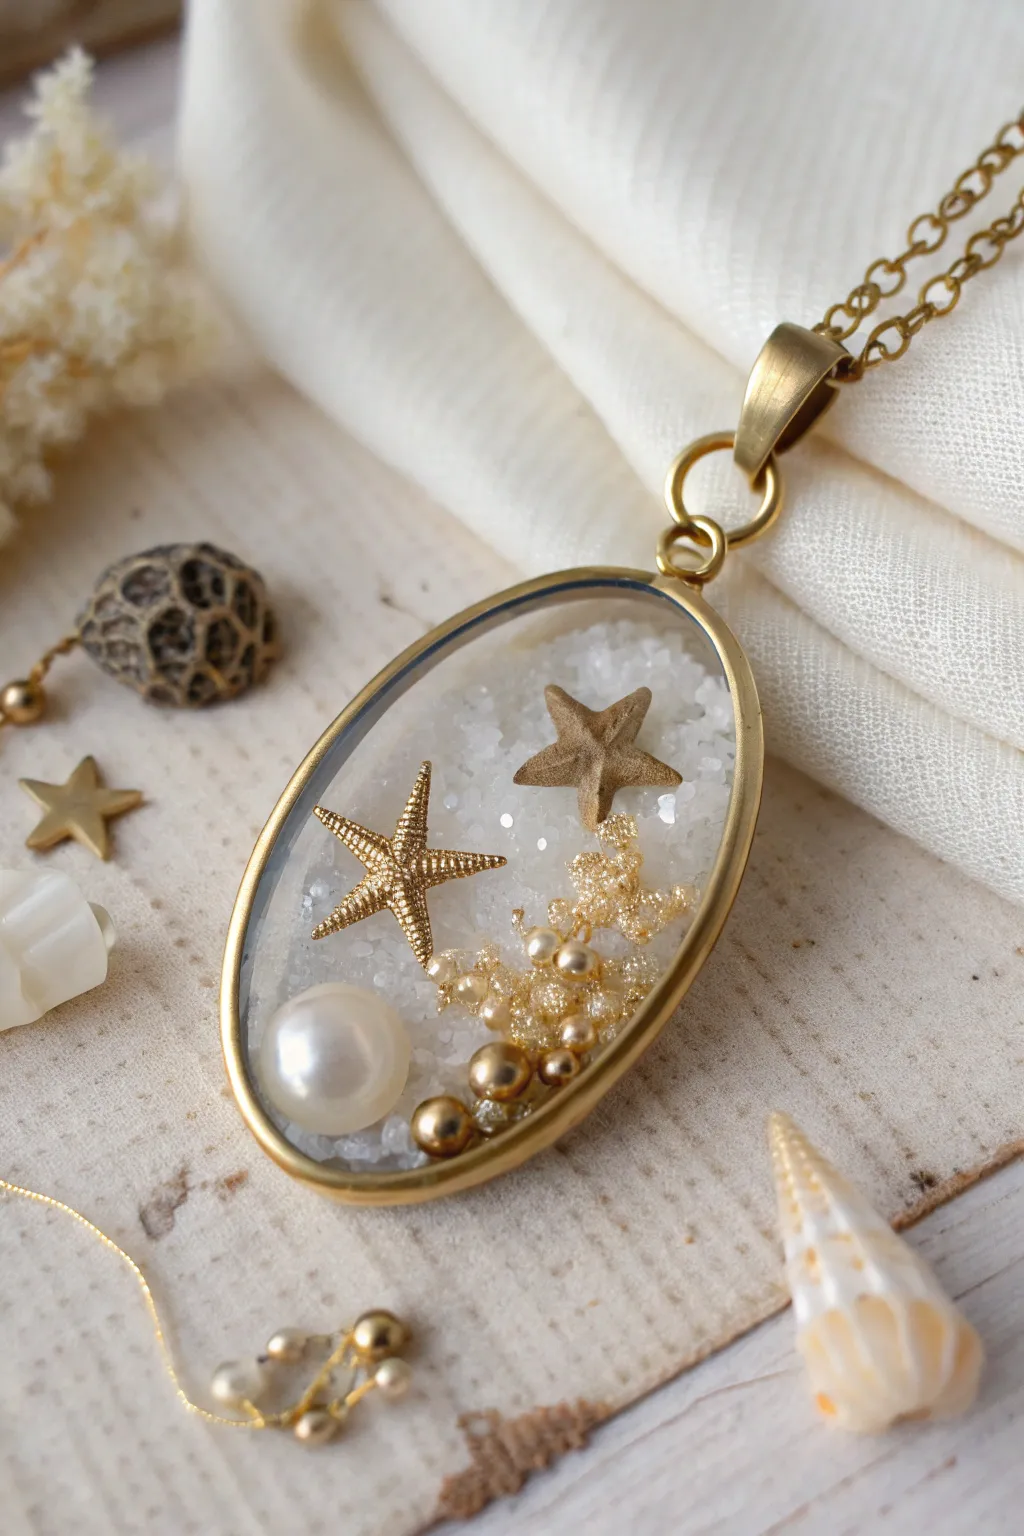
Capture the essence of a serene beach walk with this mixed-media pendant, featuring a sandy crystal base and delicate tide pool treasures. The finished piece combines the durability of two-part epoxy clay with the clarity of resin for a high-end, boutique jewelry look.
Step-by-Step Guide
Materials
- Open-back oval bezel pendant (gold finish)
- UV resin or 2-part epoxy resin
- Crystal White epoxy clay (or white clay mixed with iridescent glitter)
- Coarse white glitter or crushed quartz sand
- Miniature gold starfish charm
- Natural micro starfish (dried)
- Faux pearl cabochon
- Assorted gold micro-beads or caviar beads
- Gold glitter clusters or glitter glue
- Packing tape (for sealing the back)
- Tweezers
- Toothpick or dotting tool
- UV lamp (if using UV resin)
Step 1: Preparing the Base
-
Seal the Back:
Cut a strip of clear packing tape and press the open back of the oval bezel firmly onto the sticky side. Burnish the edges well to ensure a tight seal so no liquid leaks out. -
Base Layer:
Mix a very small amount of white epoxy clay according to package instructions. Press a thin, uneven layer into the bottom of the bezel to act as your ‘seabed’ foundation. -
Adding texture:
While the clay is still sticky, sprinkle coarse white glitter or crushed quartz sand over the surface. Gently press the granules into the clay with a finger so they adhere without sinking completely.
Cloudy Resin Correction
If your clear resin topcoat turns milky, it’s often due to moisture. Ensure all natural elements (like the real starfish) are bone-dry before embedding them.
Step 2: Arranging the Treasures
-
Pearlescent Placement:
Position the large faux pearl in the lower left quadrant of the oval. Push it slightly into the uncured clay or sand texture to stabilize it. -
The Golden Star:
Using tweezers, place the gold metal starfish charm near the center, angling it slightly so it looks like it’s resting naturally on the ocean floor. -
Natural Elements:
Tuck the natural micro starfish into the upper right area. I like to let it slightly overlap with the sandy texture to make it feel integrated into the scene. -
Cluster Creation:
To create the bubbly, coral-like texture seen near the bottom, mix a tiny drop of resin with heavy gold glitter or use a dab of pre-mixed glitter paste. -
Applying Clusters:
Apply this glitter mixture in irregularly shaped mounds around the pearl and starfish, building up a little height.
Oceanic Gradient
Tint your base layer of epoxy clay with a tiny speck of teal pigment powder before pressing it in. This creates a subtle shallow-water effect beneath the sand.
Step 3: Detailing and Sealing
-
Micro-Bead Accents:
Dip the tip of a toothpick into clear resin, then pick up individual gold micro-beads. Place these carefully around the larger elements to mimic bubbles or tiny sea life. -
Initial Cure:
If using UV resin for adhesion, cure the piece under the lamp for 60 seconds to lock all charms in place. If relying on the clay, let it set until firm. -
Encapsulation:
Pour a final layer of clear resin over the entire arrangement. Pour slowly to avoid trapping bubbles, filling just until the resin creates a slight dome effect. -
Pop Bubbles:
Pass a lighter quickly over the surface or use a toothpick to pop any bubbles that rise to the top. -
Final Cure:
Cure completely under a UV lamp for 2-3 minutes or let 2-part resin cure for 24 hours in a dust-free box. -
Clean Up:
Once fully hard, peel off the packing tape from the back. If there is any sticky residue, wipe it away with a little rubbing alcohol. -
Back Seal (Optional):
If the back looks cloudy from the tape, brush on a thin layer of resin on the reverse side and cure again for a crystal-clear finish.
Now you have a shimmering piece of the ocean to wear anytime you wish
Color-Blocked Modern Pendants
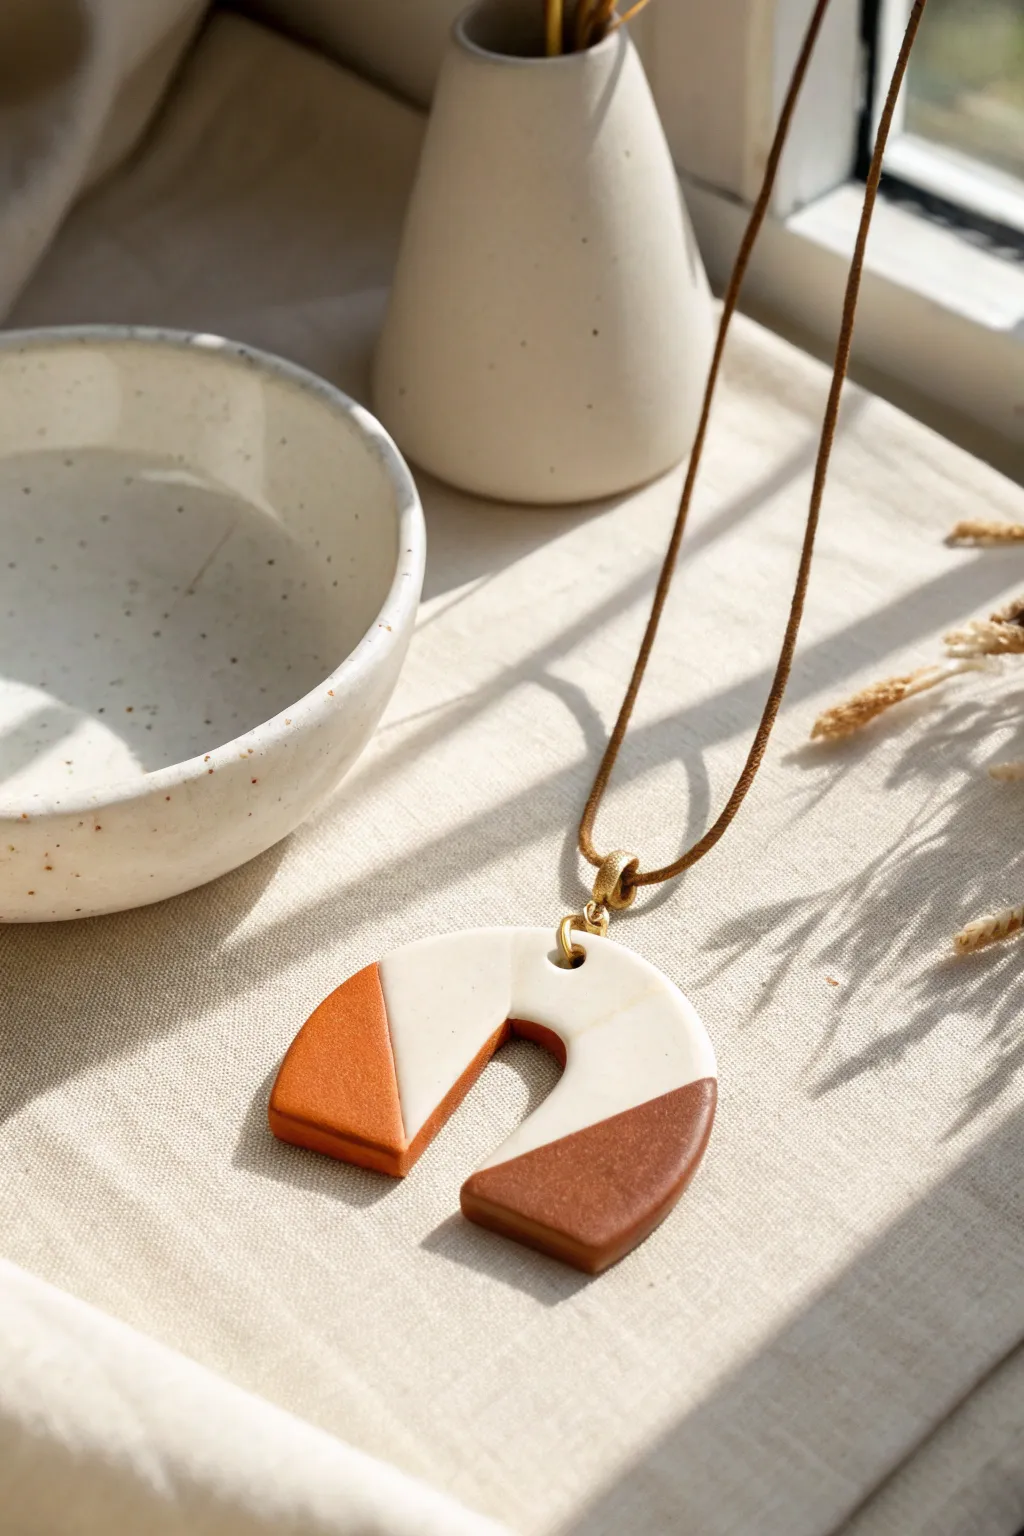
Capture the essence of contemporary design with this sleek, U-shaped pendant featuring striking color blocks in warm, earthy tones. The smooth finish and geometric lines make this a versatile accessory that pairs beautifully with simple linen and casual wear.
Detailed Instructions
Materials
- Two-part epoxy clay (white)
- Epoxy clay pigment or chalk pastels (rust orange, brown)
- Silicone mat or wax paper
- Rolling pin or clay roller
- Sharp craft knife or tissue blade
- U-shaped clay cutter (optional) or cardstock template
- Small jump ring (gold tone)
- Pendant bail or jump ring connector
- Brown suede or leather cord
- Sandpaper (fine grit)
- Gloves (latex or nitrile)
Step 1: Mixing and Coloring
-
Prepare the base:
Begin by putting on your gloves to protect your skin. Mix equal parts of part A and part B of your white epoxy clay according to the manufacturer’s instructions, kneading until the texture is uniform and streak-free. -
Divide the clay:
Separate your mixed clay into three unequal portions. Keep the largest portion white. This will be the main body of your pendant. -
Create the rust tone:
Take the second portion of clay and mix in your rust orange pigment. Add a tiny amount at a time, kneading thoroughly until the color is consistent. If using chalk pastels, scrape dust from the stick and fold it into the clay. -
Mix the brown shade:
Repeat the coloring process with the third, smallest portion of clay using brown pigment. Aim for a rich, earthy cocoa color that contrasts well with the rust and white.
Clean Seam Pro Tip
Wipe your cutting blade with a baby wipe or alcohol between cuts. This prevents the dark clay pigments from smearing onto your pristine white sections during assembly.
Step 2: Shaping the Design
-
Roll out the sections:
On your silicone mat, roll the rust clay into a small, flat sheet about 1/4 inch thick. Do the same for the brown clay. -
Prepare the white section:
Roll out the white clay to the same thickness. It’s crucial that all three sections are equal in height so the surface of the pendant remains level. -
Cut geometric angles:
Using your craft knife, cut sleek, diagonal lines into your white clay sheet where you want the color blocks to attach. Cut corresponding angles on the rust and brown pieces so they fit together like a puzzle. -
Join the seams:
Press the colored pieces firmly against the cut edges of the white clay. I usually smooth the seam gently with a gloved finger to help them bond without distorting the straight line. -
Re-roll for smoothness:
Place a piece of wax paper over your joined clay sheet and gently roll over the seams with your roller. This ensures the bond is tight and the surface is perfectly flat across all colors.
Step 3: Cutting and Finishing
-
Cut the arch shape:
Place your U-shaped cutter or cardstock template over the clay sheet, positioning it so the diagonal color lines sit exactly where you want them on the arch legs. -
Extract the pendant:
Press the cutter down firmly or trace around your template with the craft knife. Remove the excess clay from around the shape. -
Create the hole:
Use a toothpick or a small straw to punch a hole at the very top center of the arch. Make sure it goes cleanly all the way through. -
Smooth the edges:
Before the clay hardens completely, dip your finger in a little water (if your clay permits) and gently run it along the cut edges to soften any sharpness. -
Allow to cure:
Let the pendant sit undisturbed on the mat for the full cure time recommended by your clay brand, usually 24 hours. -
Sand for perfection:
Once fully rock-hard, use fine-grit sandpaper to lightly buff the edges and surface if needed, removing any fingerprints or lint. -
Attach hardware:
Open a gold jump ring with pliers and feed it through the hole you created. Attach the pendant bail if you are using one, or simply close the ring securely. -
String the necklace:
Thread your brown suede cord through the jump ring or bail to complete the look.
Level Up: Terrazzo
Before rolling the final sheet, sprinkle tiny cured chips of the colored clay onto the white section and roll them in to create a trendy terrazzo confetti effect.
Now you have a stunning, boutique-quality piece of jewelry ready to wear or gift.


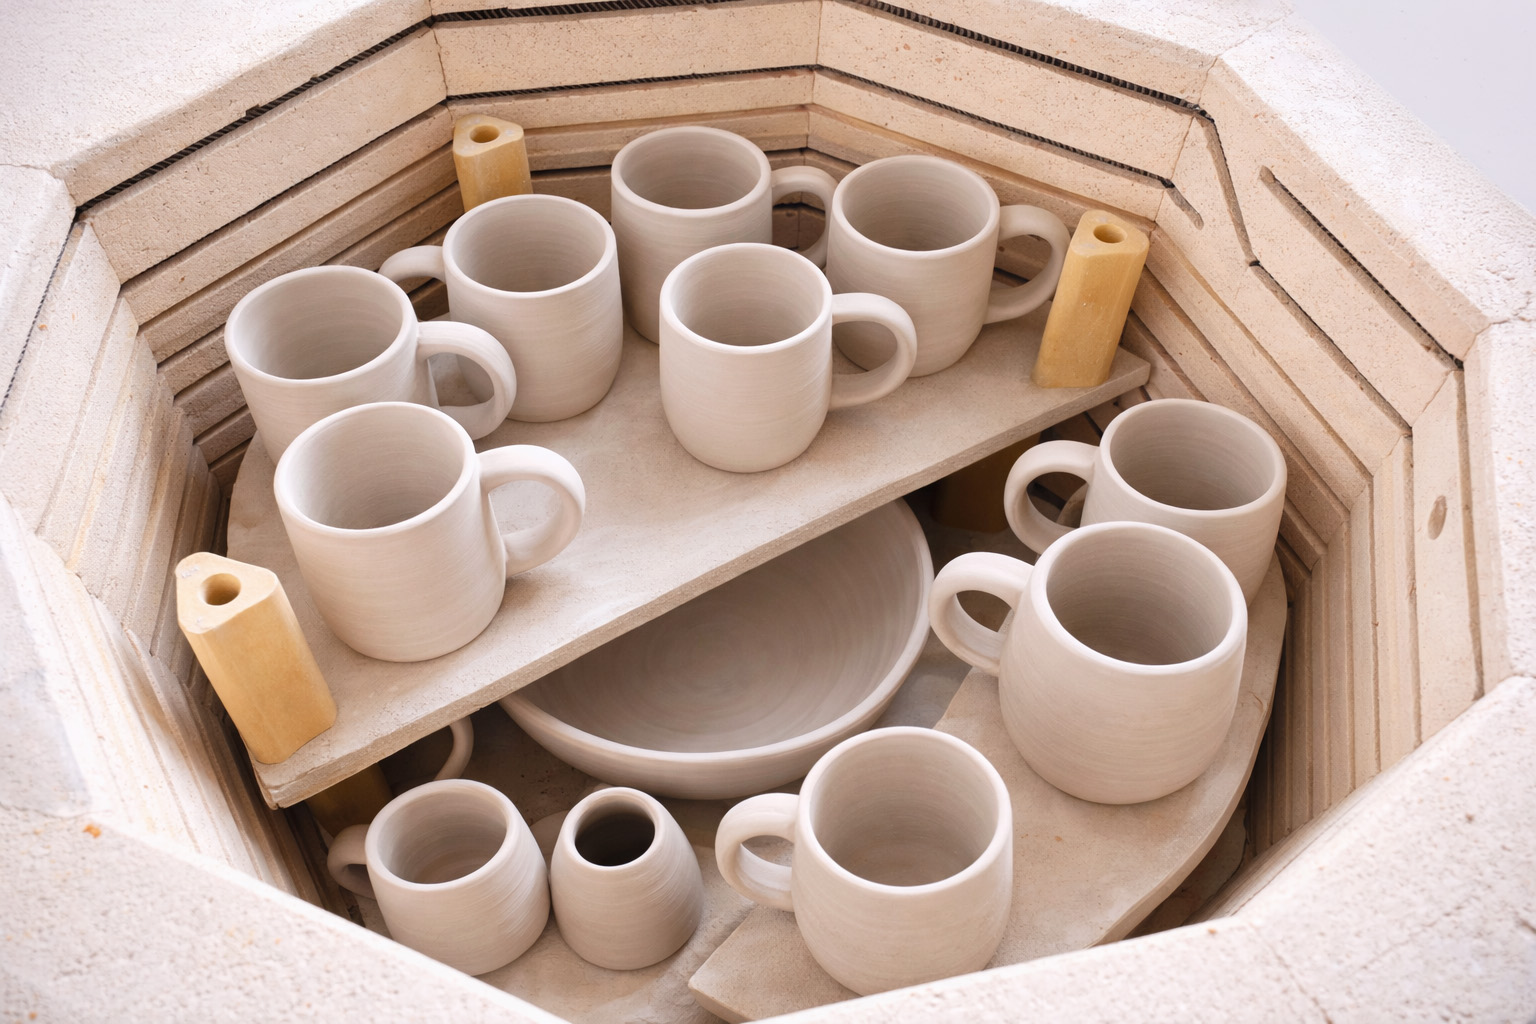
What Really Happens Inside the Kiln
Learn how time and temperature work together inside the kiln to transform clay into durable ceramic.
Raw Crystal Clay Caps
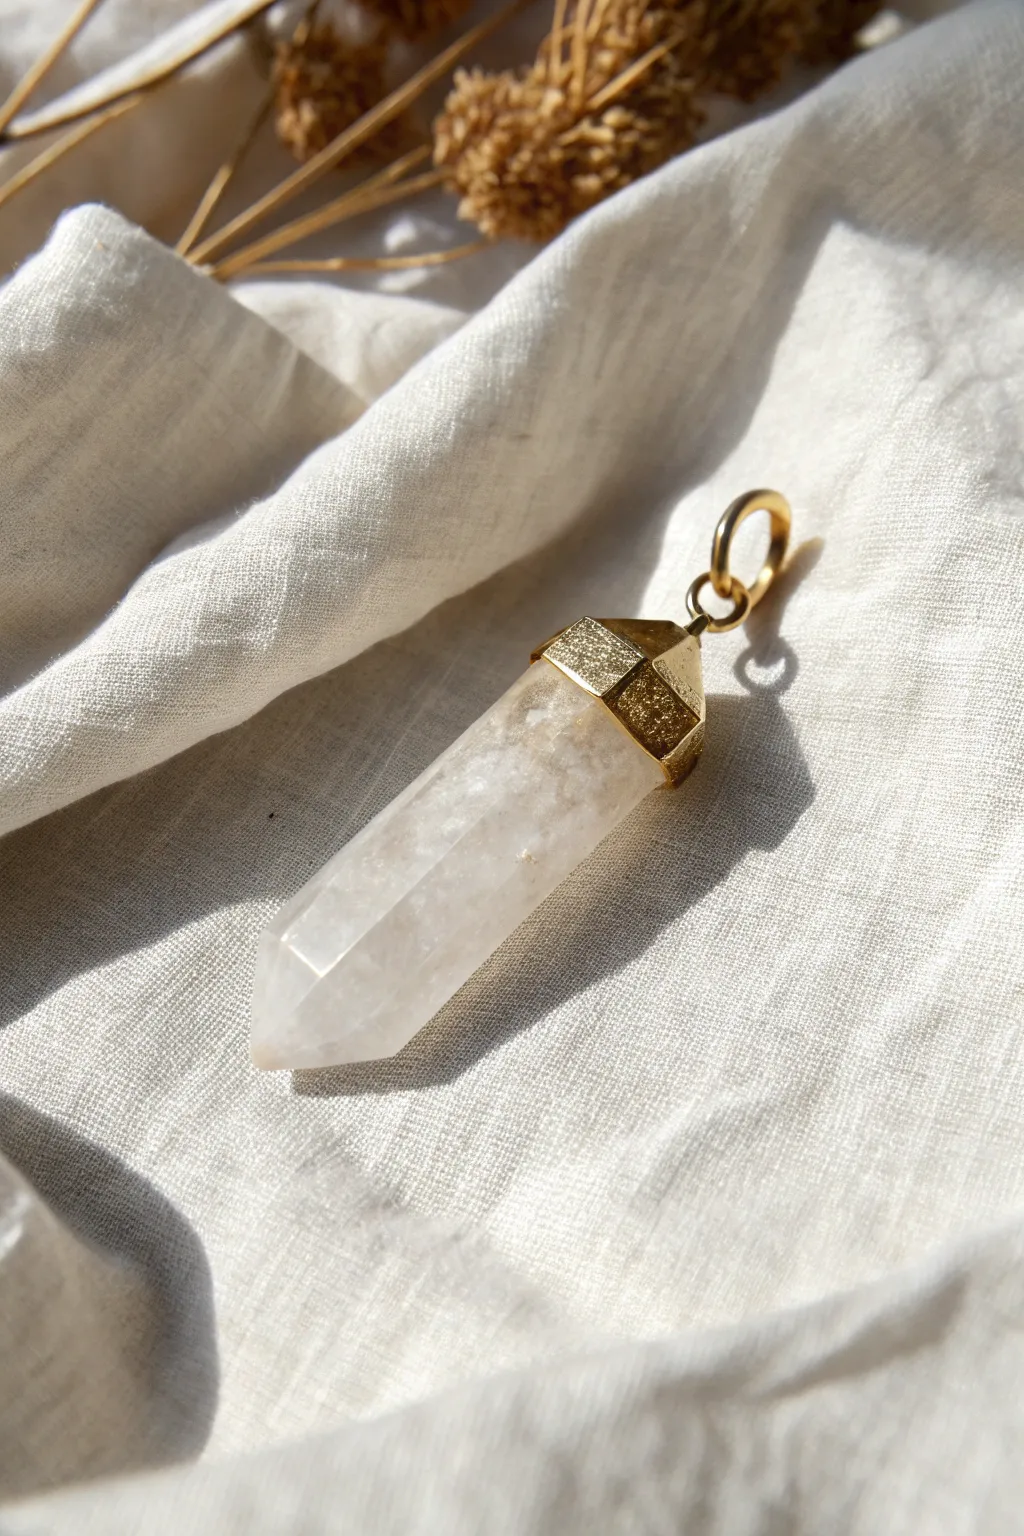
Transform a simple quartz point into a high-end jewelry piece using epoxy clay to sculpt a custom geometric cap. This technique allows you to create a secure, professional-looking bail setting without the need for metalsmithing tools.
How-To Guide
Materials
- Raw crystal point (quartz or amethyst)
- Two-part epoxy clay (white or neutral color)
- Jump ring (gold-filled or brass)
- Gold metallic paint (liquid leaf or enamel)
- High-gloss varnish or glaze
- Craft knife or scalpel
- Small paintbrush
- Rolling pin or smooth round tool
- Cornstarch or baby powder (for release)
- Wet wipes
Step 1: Preparation and Clay Mixing
-
Clean the Crystal:
Begin by wiping down your crystal point with alcohol or a wet wipe to remove any oils or dust. The top area where the cap will sit needs to be completely clean for the clay to adhere properly. -
Mix the Clay:
Take equal parts of part A and part B of your epoxy clay. Knead them together thoroughly until the color is completely uniform and streak-free. This usually takes about 2-3 minutes. -
Rest the Clay:
Let the mixed clay sit for about 10-15 minutes. Freshly mixed clay can be very sticky and soft; letting it rest makes it slightly firm and easier to sculpt with precision.
Uneven Paint Lines?
If you struggle with painting a straight line on the crystal, apply a strip of painter’s tape or washi tape around the crystal just below the clay line before painting.
Step 2: Sculpting the Cap
-
Form the Base:
Roll a small ball of clay, roughly the size needed to cover the top of your crystal. Gently press it onto the top of the crystal, smoothing it down the sides to create a dome. -
Attach the Hardware:
Before the clay hardens, press your jump ring firmly into the top center of the clay dome. Ensure the opening of the ring is buried or sealed, and smooth the clay around the base of the ring to secure it permanently. -
Rough Shaping:
Using your fingers, roughly shape the clay so it tapers from the crystal body up toward the jump ring. I like to keep my fingers slightly damp with water to prevent fingerprints. -
Carving Geometries:
Use a sharp craft knife or scalpel to begin slicing away small sections of the clay. Create flat, faceted planes rather than a round shape to mimic the look of cut metal or gemstone. -
Refining Edges:
Continue carving around the circumference. Try to align some of your clay facets with the natural facets of the crystal point below for a harmonious look. -
Smoothing:
Once you are happy with the geometric shape, dip your finger in a tiny bit of water and very gently smooth the flat planes to remove knife drag marks without rounding the crisp edges. -
Clean Up:
Check the bottom edge of the clay where it meets the crystal. Use your knife to create a clean, straight line around the perimeter, removing any excess clay smudges. -
Cure:
Set the pendant aside to cure completely. Follow your clay’s specific instructions, but this typically takes 24 hours to become rock hard.
Add Texture
Before the clay cures, press coarse sandpaper or a stiff brush against the facets to create a ‘hammered metal’ texture instead of a smooth finish.
Step 3: Finishing Touches
-
Base Painting:
Once fully cured, paint the clay cap with your liquid gold leaf or metallic enamel. Use a small, soft brush to get sharp lines where the clay meets the crystal. -
Second Coat:
Allow the first coat to dry completely. Apply a second coat of gold paint to ensure rich, opaque coverage that looks like solid metal. -
Sealing:
After the paint is fully dry, apply a thin layer of high-gloss varnish or glaze over the gold area. This protects the paint from tarnishing and scratching while adding a realistic metallic shine. -
Final Polish:
Gently verify the crystal part is clean. If any paint strayed onto the stone, carefully scratch it off with a fingernail or a wooden toothpick.
Now you have a stunning, seemingly custom-set crystal ready to string on a chain
Embedded Photo or Paper Window
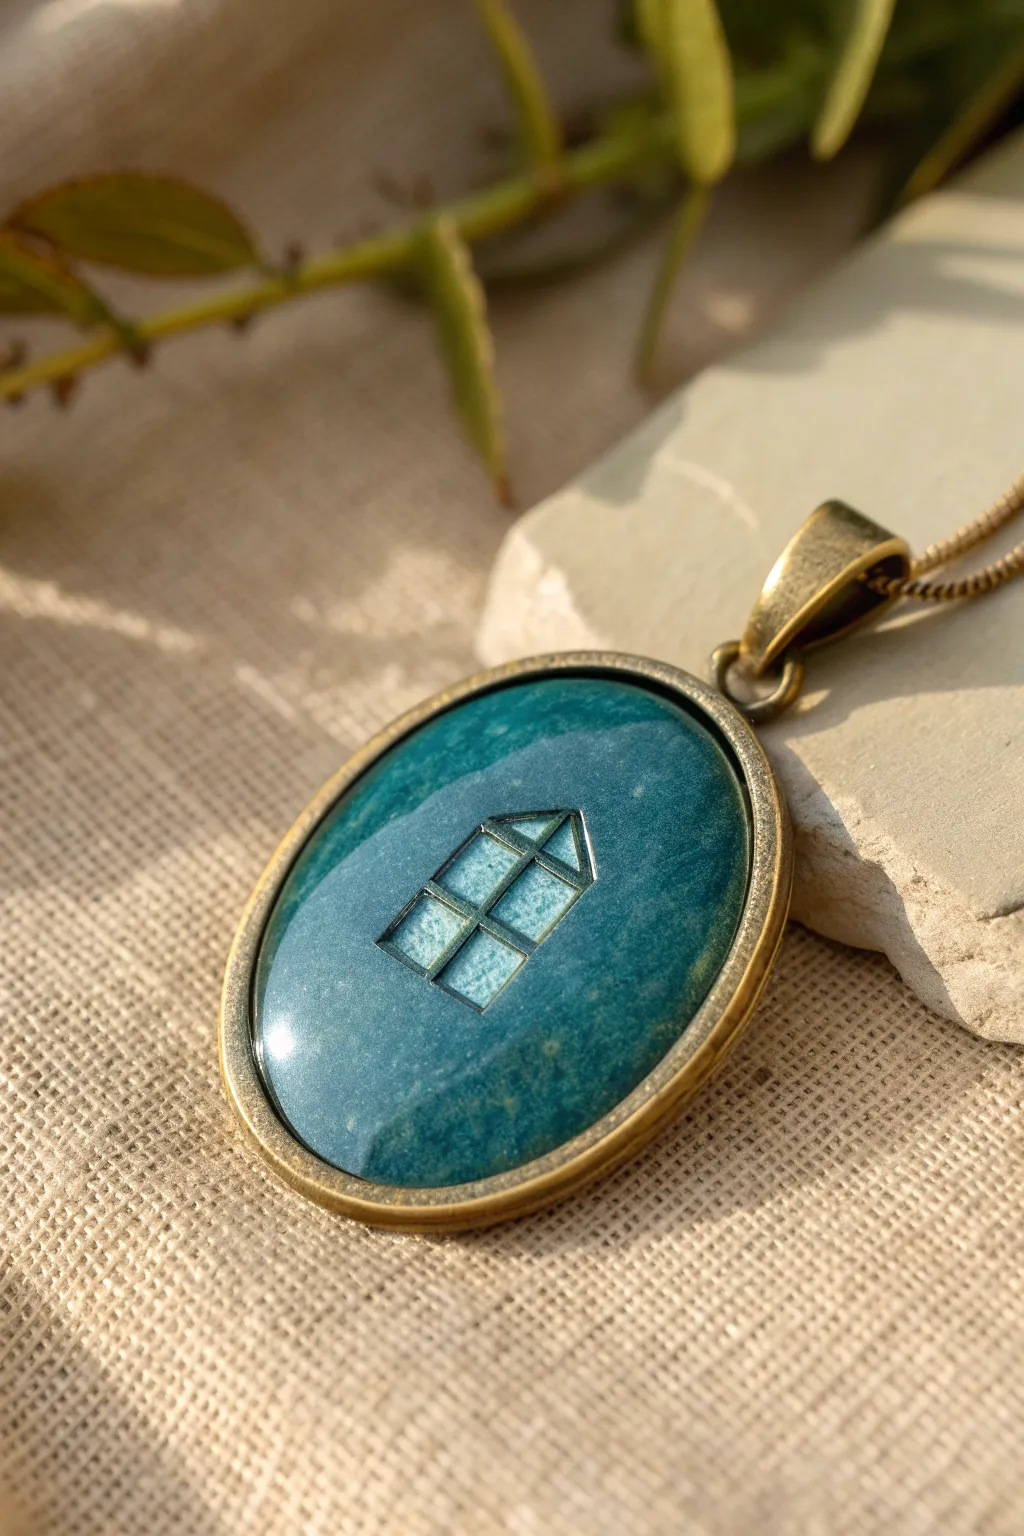
This charming pendant features a delicate window motif floating in a deep teal sea, creating a tiny, wearable world. By combining epoxy clay or a colored base with embedded paper cutouts and a resin topcoat, you can achieve this dimensional, glass-like finish.
Detailed Instructions
Materials
- Oval bronze bezel pendant tray
- Teal pigmented epoxy clay (or white epoxy clay mixed with teal pigment powder/acrylic paint)
- Thick cardstock or watercolor paper
- Silver or metallic paint pen (fine tip)
- Craft knife or precision scissors
- Two-part jewelry grade epoxy resin
- Mixing cups and stir sticks
- Domed plastic cover or dust box
- Toothpicks
- Small paintbrush
- Sealant (white glue or Mod Podge)
Step 1: Preparing the Window Element
-
Design the motif:
Draw a small arched window shape on your cardstock. Keep it simple—a four-pane design works best for this scale. The size should fit comfortably in the center of your bezel with plenty of negative space around it. -
Color the paper:
Before cutting, you can lightly wash the paper with a lighter shade of teal or metallic silver watercolor if you want the ‘glass’ panes to have a specific texture, or leave it plain white for high contrast. -
Outline the details:
Use your metallic paint pen to carefully draw the frame and mullions of the window. Let the ink dry completely so it doesn’t smear during the next steps. -
Cut it out:
Using a craft knife or sharp precision scissors, carefully cut out the exact outline of the window shapes. Take your time here to get crisp edges. -
Seal the paper:
This is a crucial step. Brush a thin layer of sealant (like Mod Podge) over the front and back of your paper cutout. This prevents the resin from soaking into the fibers and turning the paper translucent later.
Step 2: Setting the Background
-
Mix the epoxy clay:
Take equal parts of part A and part B of your epoxy clay. If you are tinting white clay, add a very small amount of teal pigment or acrylic paint now. -
Knead thoroughly:
Knead the clay until the color is completely uniform and streak-free. I tend to wear gloves here to avoid fingerprints on the final clay surface. -
Fill the bezel:
Press a small ball of the mixed clay into the bronze bezel. Push it all the way to the edges, ensuring there are no gaps against the metal rim. -
Smooth the surface:
Use a little bit of water on your finger to smooth the clay surface perfectly flat. You want a consistent ‘floor’ for your window to sit on. -
Embed the paper:
While the clay is still soft, gently press your sealed paper window into the center. Don’t submerge it; just press hard enough so it adheres and sits flush with the clay surface. -
Let it cure:
Allow the clay to harden completely according to the manufacturer’s instructions. This usually takes about 24 hours.
Cloudy Resin?
If your transparent resin looks cloudy over the paper, you likely didn’t seal the paper enough. Ensure the sealant (Mod Podge) fully dries creates a barrier before pouring.
Step 3: Resin Finish
-
Mix the resin:
Measure and mix your two-part epoxy resin carefully. Stir slowly to minimize air bubbles, scraping the sides of the cup. -
Degass the resin:
Let the mixed resin sit for about 5 minutes so trapped bubbles can rise to the surface and pop. -
Pour the dome:
Slowly drip the resin onto the center of the hardened clay piece. Using a toothpick, gently guide the resin to the metal edges of the bezel. -
Create surface tension:
Add just enough resin so it creates a slight dome effect without overflowing the metal rim. The surface tension will hold it in place. -
Pop bubbles:
Pass a lighter quickly over the surface or use a clean toothpick to fish out any remaining bubbles, especially near the paper window details. -
Protect and dry:
Place a dust cover over the pendant immediately and place it on a level surface. Let it cure undisturbed for 24 to 48 hours. -
Final polish:
Once fully cured, use a soft cloth to buff the bronze metal rim if any resin mist dulled it, completing your piece.
Add Sparkle
Before pouring the clear resin layer, mix a tiny pinch of mica powder or ultra-fine glitter into the resin for a magical, starry night effect around the window.
This serene pendant makes a perfect gift or a lovely addition to your own jewelry collection