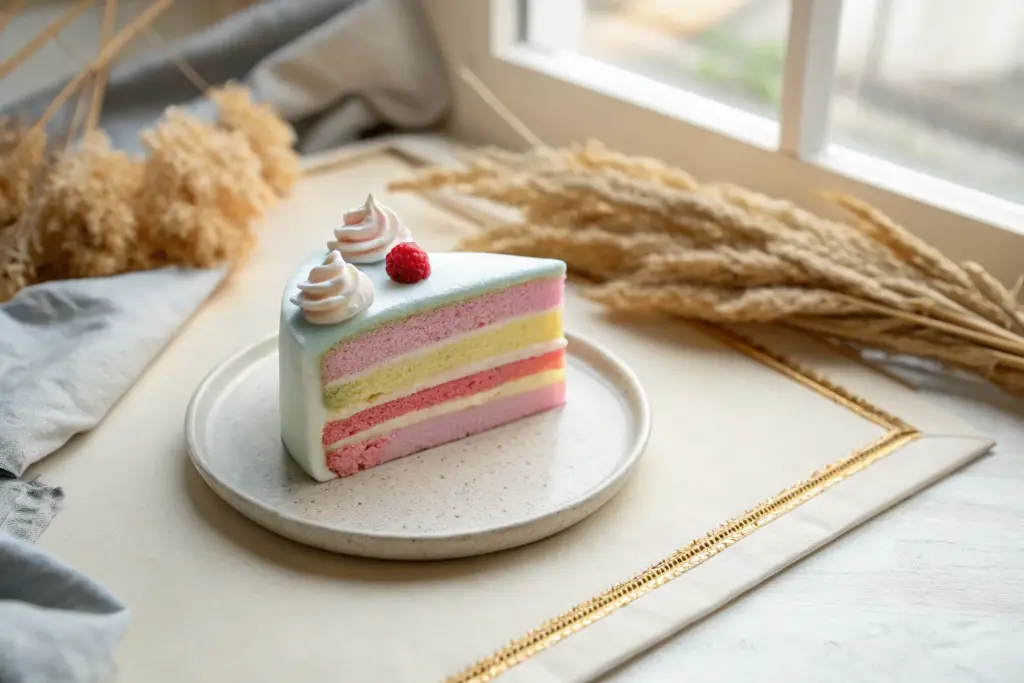
If you love clay that’s soft, puffy, and basically begs to be squished into adorable shapes, air-dry foam clay is your new best friend. I pulled together my favorite air foam clay ideas that lean into that fluffy texture—simple to make, super cute, and ridiculously fun to display.
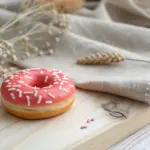
Mini Macaron Charms
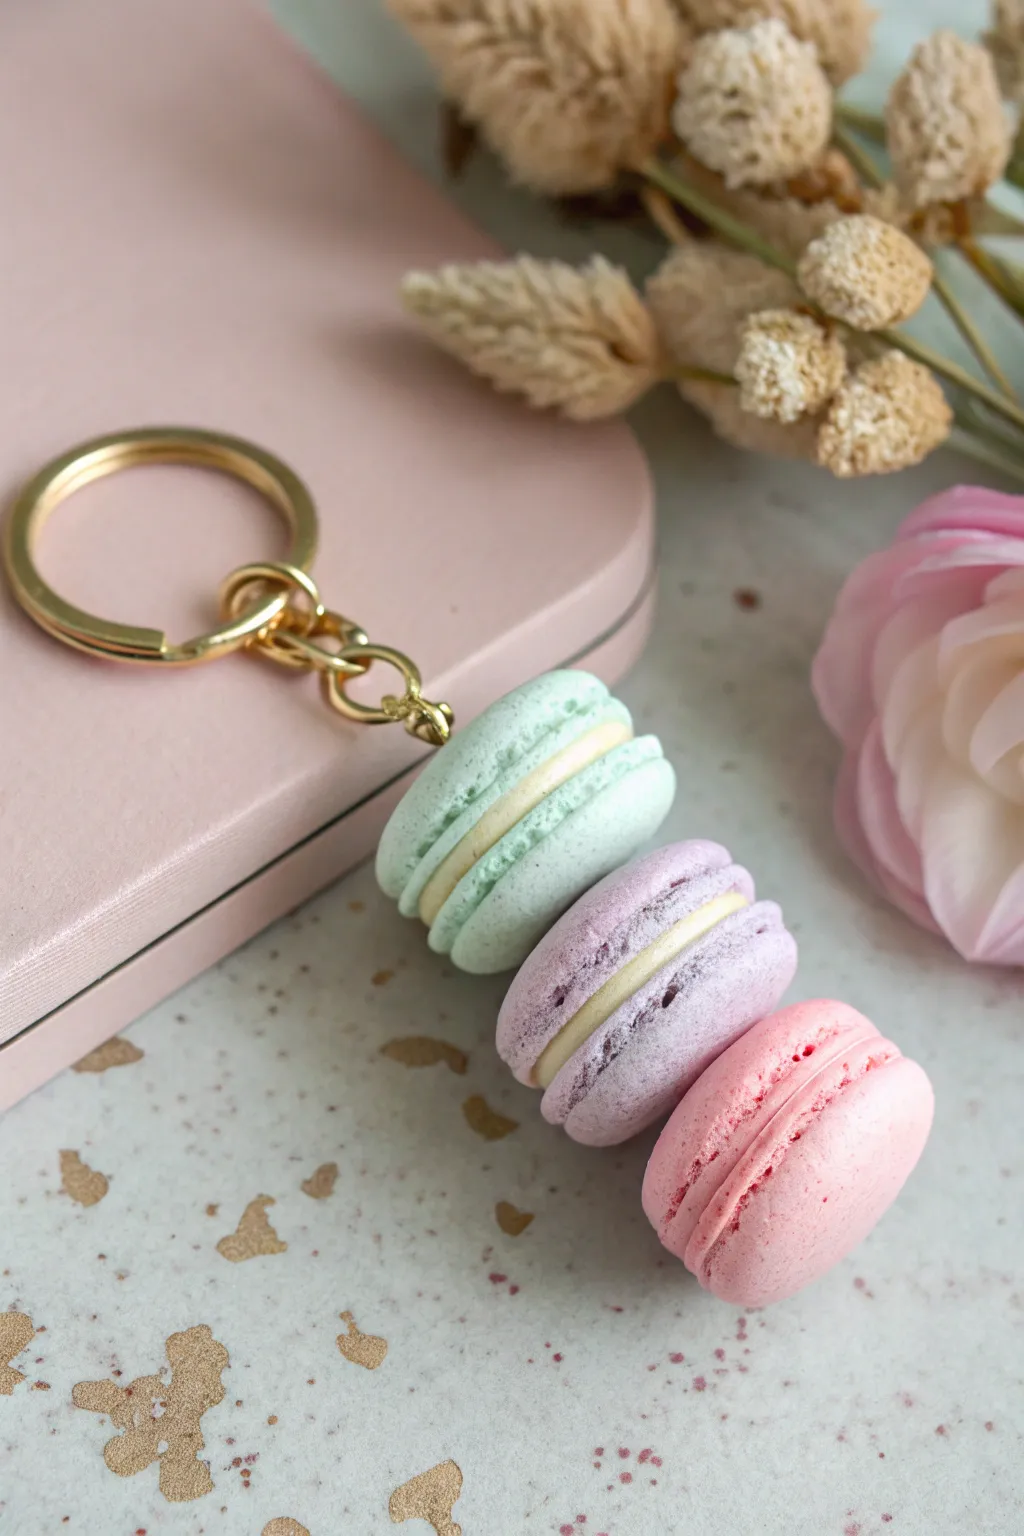
These miniature macaron charms look good enough to eat with their soft, fluffy texture and sweet pastel colors. In this project, we’ll create a delightful stack of three treats made from air foam clay, turning them into a chic and lovely keychain accessory.
How-To Guide
Materials
- Air foam clay (Mint Green, Lilac, Baby Pink, Cream/White)
- Gold keychain finding with split ring and chain
- Gold eye pin (long enough to pierce through all three macarons)
- Needle tool or toothpick
- Small round cutter (approx. 1 inch diameter) or bottle cap
- Rolling pin or smooth acrylic marker
- Superglue or strong craft adhesive
- Round nose pliers
- Wire cutters
- Small flat brush (optional for texturing)
Step 1: Shaping the Macaron Shells
-
Prepare the Colors:
Start by conditioning your green, lilac, and pink clay. Knead each color separately until it is smooth, pliable, and free of cracks. -
Create Uniform Portions:
Roll out each colored clay into a slab about 0.5 cm thick. Using your small round cutter, punch out two circles for each color. You should have two green, two lilac, and two pink circles. -
Round the Edges:
Take one clay circle and gently smooth the sharp cut edges with your finger to create a domed top, typical of a macaron shell. -
Create the ‘Feet’:
Use a needle tool or toothpick to gently tease and texture the bottom edge of the dome. Pick at the clay just above the base to create that crinkly, rough texture known as the macaron ‘feet’ while keeping the top dome smooth. -
Repeat the Process:
Repeat the smoothing and texturing steps for all six shell pieces. Set them aside briefly to firm up just slightly so they don’t squash during assembly.
Step 2: Creating the Filling
-
Mix the Filling Color:
Take your cream or white clay. If you want a vanilla look like the photo, a warm cream works best. -
Cut the Filling Discs:
Roll the filling clay slightly thinner than the shells. Use the same round cutter to punch out three circles. -
Assemble the Sandwiches:
Place a cream disc between two matching colored shells. Gently press them together so they adhere without crushing the textured feet. -
Refine the Shape:
Check the side profile of your macarons. If the filling protrudes too much, gently tap it inward with a flat tool.
Fixing Squashed Feet
If you squash the textured ‘feet’ while assembling, use a clean toothbrush to gently tap the clay back into a rough, crumbly texture before it dries.
Step 3: Keychain Assembly
-
Prepare the Stack:
Decide on your color order. In the photo, it’s green on top, lilac in the middle, and pink on the bottom. -
Insert the Eye Pin:
Take your long gold eye pin. Before the clay dries, carefully push the pin through the center of the bottom pink macaron, up through the purple, and out the top of the green one. -
Secure the Pin:
Add a tiny dab of superglue to the pin shaft before pushing it through the final section to ensure it binds with the foam interior. -
Trim Excess Wire:
Use your wire cutters to trim the excess wire sticking out of the top green macaron, leaving about 1 cm exposed. -
Create a Loop:
Using round nose pliers, bend the exposed wire into a secure loop flush against the top of the green macaron. -
Drying Time:
Let the entire stack air dry completely. This usually takes 24-48 hours depending on humidity. I like to let this dry vertically if possible so no side gets flattened. -
Attach the Hardware:
Once hardened, open the jump ring on your gold keychain finding and attach it to the loop you made on the macaron stack.
Scented Charm Upgrade
Mix a tiny drop of essential oil or vanilla fragrance into the white clay filling before rolling it out for charms that actually smell like cookies.
Clip your new handmade accessory onto your keys or bag for a sweet touch of pastel perfection


Sushi Roll Fridge Magnets
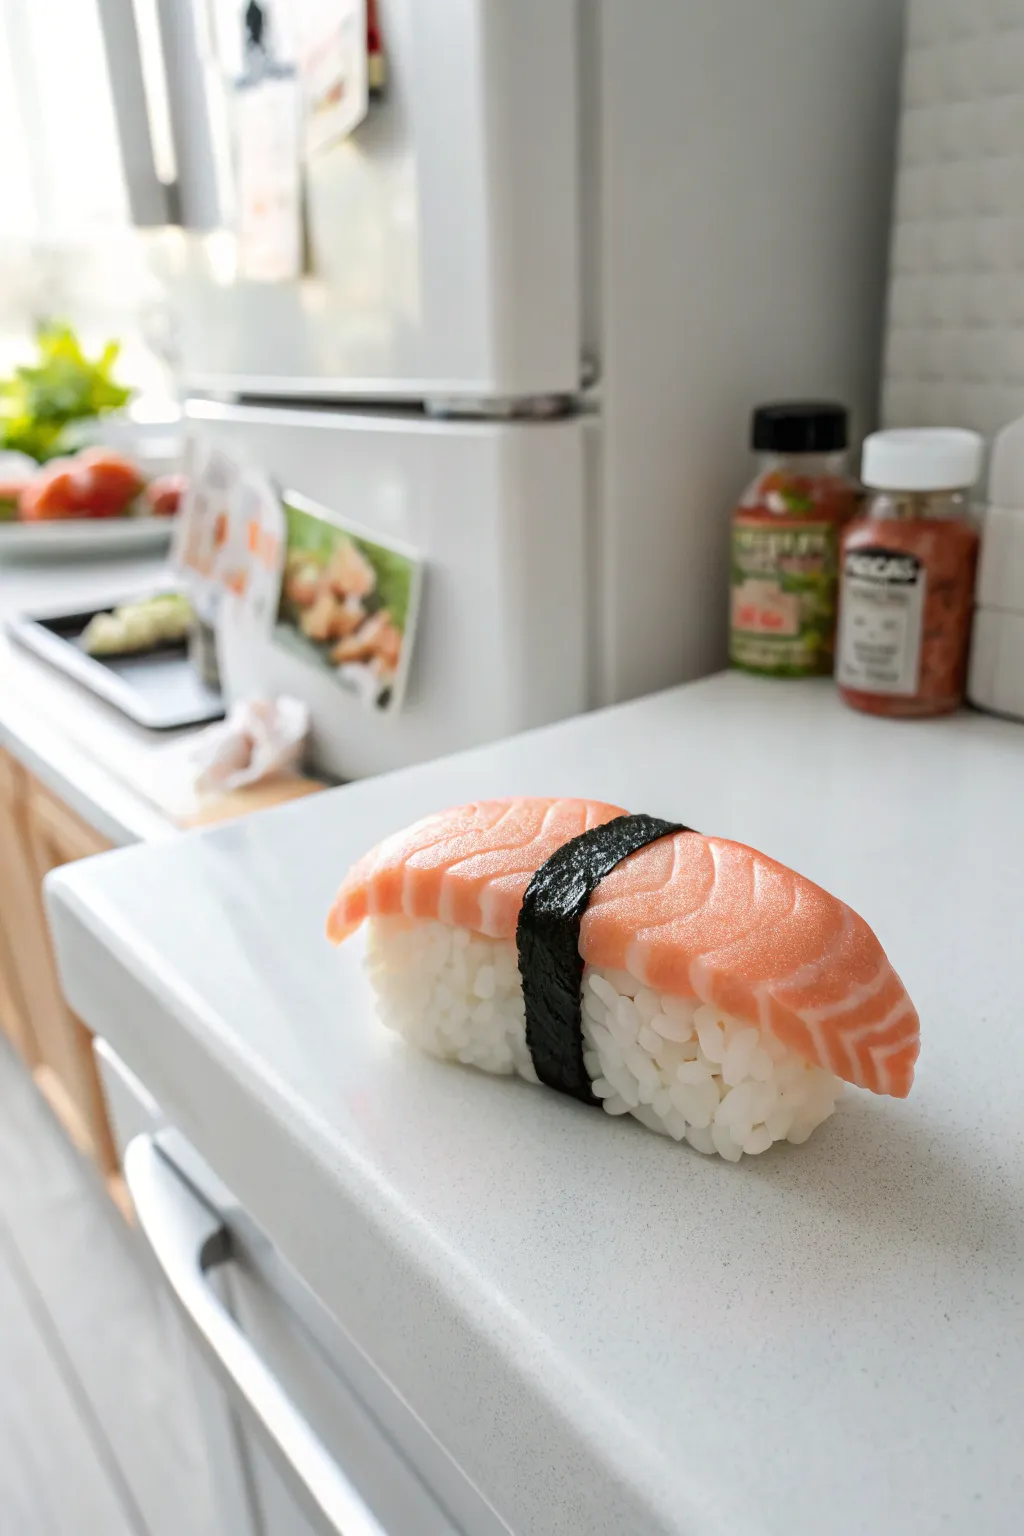
Transform simple air foam clay into a deceptively delicious-looking piece of salmon nigiri sushi for your fridge. The secret lies in creating individual rice grains and layering translucent clay colors to mimic the fatty texture of fresh fish.
How-To Guide
Materials
- White air foam clay
- Peach or light orange air foam clay
- Black air foam clay
- Translucent or clear drying craft glue
- Clay sculpting tools (needle tool, small ball tool)
- Strong round magnet
- Glossy clear varnish or UV resin
- White or pale yellow acrylic paint (optional for tinting)
Step 1: Forming the Shari (Rice Base)
-
Create the core:
Start by rolling a medium-sized ball of white air foam clay into an oval shape, roughly 2 inches long. This will be the base form for your rice. -
Flatten the base:
Gently press the oval onto your work surface to flatten the bottom, creating that classic nigiri mound shape. -
Embed the magnet:
Taking your round magnet, press it firmly into the flat bottom of the clay oval until it sits flush. You can add a dab of clay over it to secure it, or glue it in place later. -
Roll tiny grains:
To achieve that realistic texture, roll dozens of tiny, rice-grain-sized ovals from your white clay. This step takes patience, but it’s essential for the look. -
Apply the first layer:
Brush a thin layer of glue over your base oval. Start pressing your tiny clay ‘rice grains’ onto the surface, covering it completely so the smooth core is hidden. -
Build volume:
Add a second, more scattershot layer of grains on top to give it a fluffy, hand-packed appearance. Avoid smoothing them down; you want the texture to remain distinct.
Chef’s Secret
Mix a tiny drop of translucent liquid clay into the orange foam clay before sculpting. It adds a slight transparency that makes the ‘fish’ look incredibly realistic.
Step 2: Sculpting the Salmon Topping
-
Mix the fat color:
Prepare a small amount of white clay and mix in a tiny touch of pale yellow paint if needed. Roll this into very thin, spaghetti-like strings to creating the fatty striations. -
Prepare the salmon base:
Take your peach or orange clay and flatten it into a long, rectangular slab with rounded corners. It should be slightly longer than your rice base to drape over the sides. -
Integrate the fat lines:
Lay your thin white strings diagonally across the orange slab. Gently roll over them with a rolling tool or smooth finger to embed them flat into the salmon meat. -
Curve the topping:
Place the salmon slab over your textured rice base. Gently press the sides down so it hugs the rice form, curving naturally like a fresh slice of fish. -
Add surface texture:
Use a texturing tool or a clean toothbrush to lightly stipple the surface of the orange clay. This mimics the organic, fleshy texture of raw fish.
Sticky Situation
If your tiny rice grains aren’t sticking to the base, let the glue get tacky for 30 seconds before applying, or use a damp brush to re-moisten the base clay.
Step 3: Assembly and Detailing
-
Create the Nori strip:
Roll out a small piece of black air foam clay until it is paper-thin. Cut a strip about 1/4 inch wide using scissors or a blade. -
Wrap the sushi:
Lay the black strip across the center of the salmon and wrap it down around the rice base to the bottom. Secure the ends underneath with a dot of glue. -
Texture the seaweed:
While the black clay is still soft, gently prick it with a needle tool or stiff brush to give it that rough, dry seaweed texture. -
Check the fit:
Turn the magnet over and ensure the bottom is still flat enough to stick to a fridge. Adjust the magnet position if necessary while the clay is flexible. -
Let it cure:
Allow the entire piece to dry for at least 24-48 hours. Air foam clay shrinks slightly as it dries, tightening the fit of your components. -
Apply the glaze:
Once fully dry, brush a glossy varnish or UV resin ONLY over the salmon part. Leave the rice and nori matte for realistic contrast.
Now you have a piece of sushi art that looks good enough to eat but will stick around permanently.


Puffy Bunny and Frog Figures
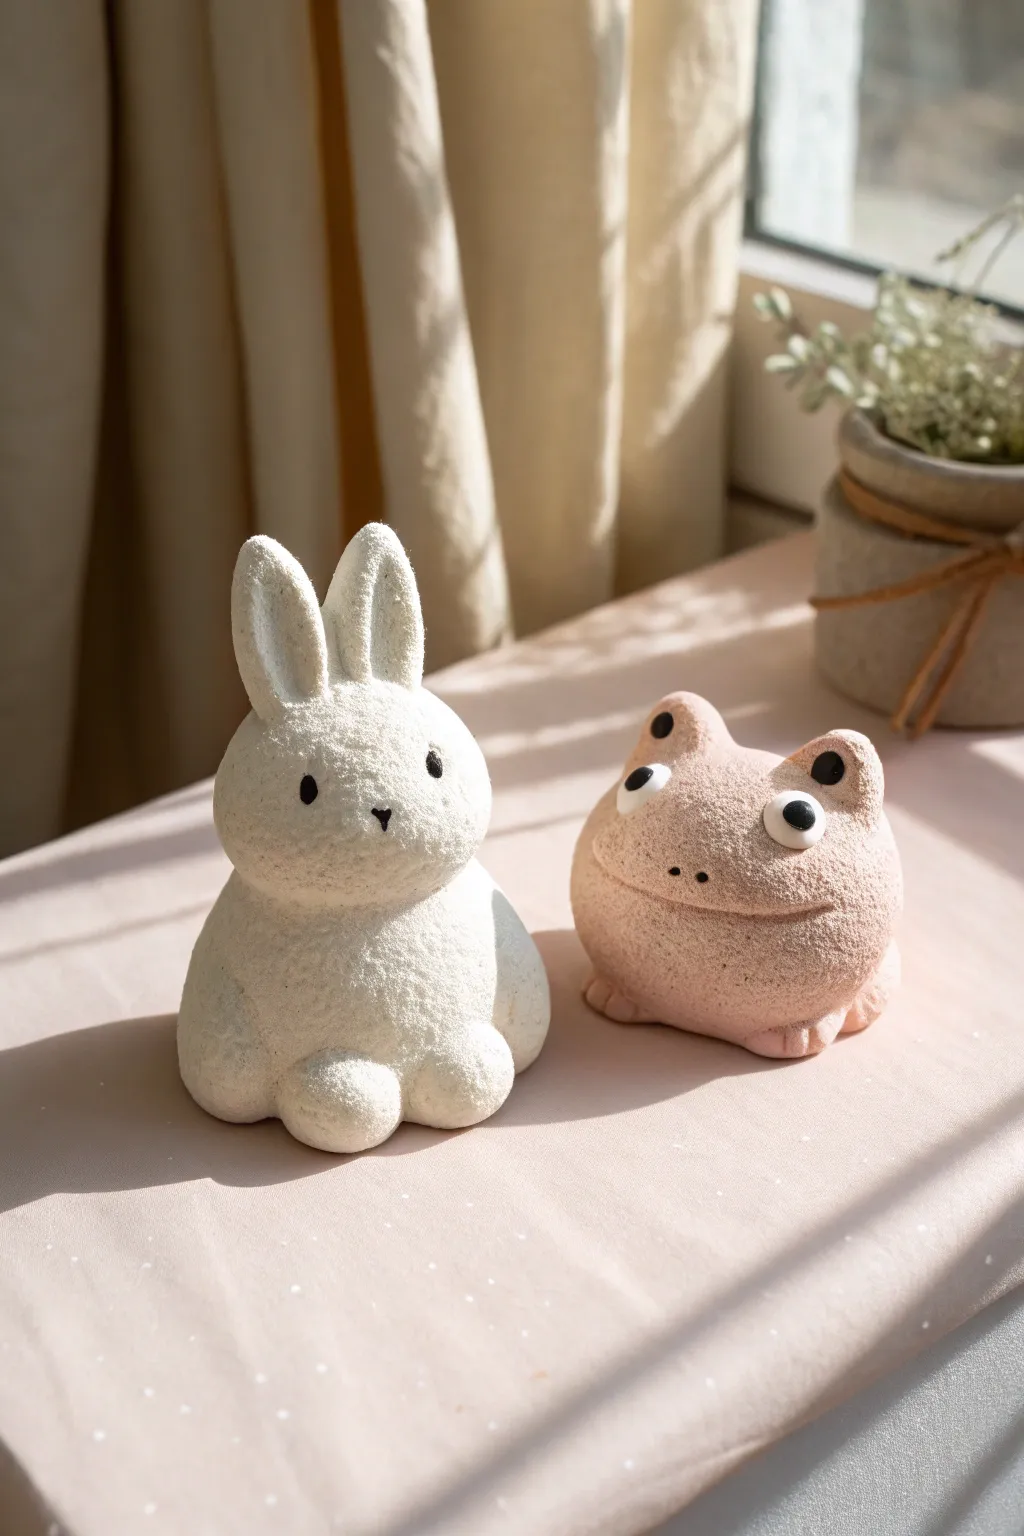
Create this adorable pair of desk companions using air dry foam clay to achieve a delightful, grainy texture that resembles stone or sugar-coated candy. The minimalist design focuses on simple shapes and expressive, tiny features for maximum cuteness.
Detailed Instructions
Materials
- White foam clay (or pearl clay for extra texture)
- Pink foam clay (soft pastel shade)
- Black foam clay (tiny amount for eyes)
- White air dry clay or paint (for eye highlights)
- Plastic modeling tools (ball tool, needle tool)
- Texture sponge or stiff brush (optional)
- Clean working surface
Step 1: Sculpting the Bunny
-
Form the Body:
Start with a large chunk of white foam clay. Roll it into a smooth ball, then gently taper the top slightly to create a pear shape. This will serve as the combined head and body base. Press the bottom against your table to flatten it so it sits stably. -
Refine the Head Shape:
Using your fingers, gently indent the pear shape about halfway up to subtly define a neck area, giving the impression of a distinct round head sitting on a round body without separating the clay. -
Add the Feat:
Roll two small spheres of white clay for the paws. Press them firmly against the bottom front of the body, spacing them slightly apart so the bunny looks settled. -
Create the Ears:
Take two medium-sized pieces of white clay and roll them into elongated teardrop shapes. Flatten them slightly. Attach them to the top of the head, positioning them close together and upright. -
Shape the Inner Ear:
Use a modeling tool or your thumb to gently press an indentation into the front center of each ear, giving them dimension and a soft, folded look. -
Add the Tail:
Roll a small ball of white clay and attach it to the lower back of the bunny for a fluffy tail. -
Bunny Face Details:
For the eyes, roll two tiny specks of black clay into balls and press them into the face, spacing them widely. Add a tiny ‘V’ shape using black clay or a marker for the nose/mouth right between the eyes.
Clean Seams
When attaching limbs like the bunny’s ears or frog’s legs, use a tiny bit of water on your finger to blend the clay seams. This makes the figure look like one solid carved piece.
Step 2: Sculpting the Frog
-
Base Shape:
Grab a generous amount of pastel pink foam clay. Roll it into a wide, slightly flattened sphere to create a squat, chubby body shape. -
Form the Eye Mounds:
Pinch the top of the head on the left and right sides to pull up two distinctive mounds. These will hold the frog’s protruding eyes, a key part of its character. -
Add Legs:
Roll two small sausages of pink clay for the front legs. Attach them to the bottom front of the body. Use a needle tool to press two lines into the end of each foot to create toes. -
Add Back Legs:
Create flattened ovals for the back legs and press them flush against the sides of the body, near the bottom, preserving the round silhouette. -
Create the Eyes:
Roll two balls of white clay (smooth clay works best here for contrast) and press them onto the raised mounds. Add smaller black clay pupils to the center of each white ball. -
Sculpt the Mouth:
Using a curved modeling tool or the edge of a credit card, press a wide, shallow, smiling line across the front of the face. -
Nostrils and Texture:
Use a needle tool to poke two tiny holes above the mouth for nostrils. If your clay has smoothed out too much during handling, gently tap the surface with a stiff brush to restore that stony texture.
Step 3: Finishing Touches
-
Refine Textures:
Look over both figures. The charm relies on that slightly rough, sandy texture. If you have smooth spots, dab them lightly with a sponge. -
Drying:
Let the figures sit undisturbed in a dry, room-temperature area for at least 24 hours. The foam clay needs to cure fully to hold its shape.
Blush Effect
Once fully dry, use a soft makeup brush and a tiny amount of pink pastel chalk dust to add rosy cheeks to the bunny or shading to the frog’s knees for extra depth.
Place your new textured friends on a sunny windowsill where the lighting can highlight their unique surface details


Simple Flower Wall Tiles
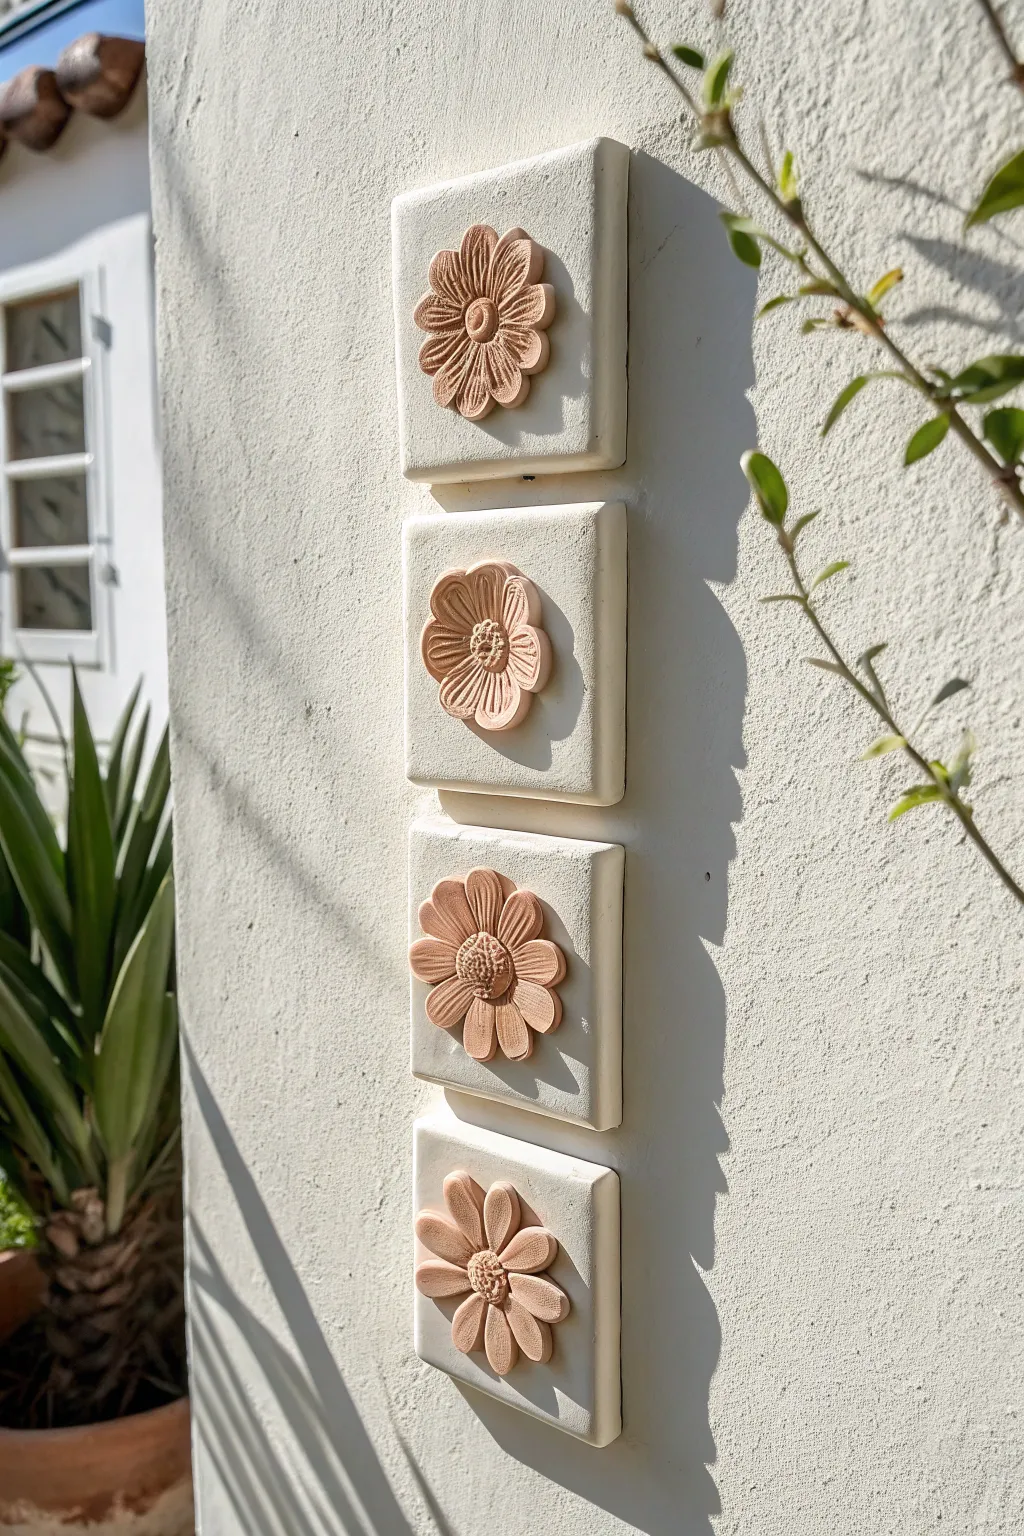
Bring a touch of Mediterranean charm to your wall with these elegant faux-ceramic relief tiles. By combining neutral cream bases with warm terracotta-colored clay, you can create a high-end architectural look without needing a kiln.
Step-by-Step
Materials
- White or cream air foam clay
- Terracotta or peach air foam clay
- Rolling pin
- Square cookie cutter (approx. 3-4 inches)
- Small round cutter or bottle cap
- Sculpting tools (needle tool, small ball tool)
- Ruler or straight edge
- Strong craft glue or super glue
- Clear matte varnish spray
- Double-sided exterior mounting tape
Step 1: Creating the Tile Base
-
Condition the white clay:
Start by taking a large portion of your white or cream foam clay and kneading it thoroughly until it is soft, pliable, and free of any air bubbles. -
Roll the slab:
Roll the clay out onto a non-stick surface to a uniform thickness of about 1/2 inch. You want these tiles to look substantial, like real stone or ceramic. -
Cut the squares:
Use your square cookie cutter or a ruler and craft knife to cut out four identical squares. Clean up any rough edges by smoothing them gently with a dampened fingertip. -
Dry the bases:
Set the squares aside on a flat surface to dry. Because they are thick, let them cure for at least 24 hours. Flipping them halfway through helps prevent warping.
Uneven Edges?
If your square cuts look ragged after drying, use a fine-grit sanding block to gently buff the sides. Foam clay sands surprisingly well once fully cured.
Step 2: Sculpting the Flowers
-
Prepare the petal clay:
While the bases dry, take your terracotta-colored clay and knead it well. This contrasting color gives that classic pottery vibe. -
Form the petals:
For each flower, roll small tear-drop shapes. Vary the number and shape for each tile to keep them unique—some can be fuller daisies, others simpler cosmos styles. -
Add texture:
Use a needle tool or a dull knife to press linear veins into each petal. Don’t overthink this; slightly organic, imperfect lines look more natural. -
Assemble the flower:
Arrange the petals in a circle directly onto a non-stick mat first to get the spacing right. I find it helpful to lightly press them together at the center so they bond as one unit. -
Create the center:
Roll a small ball of terracotta clay and flatten it slightly. Press it into the center where the petals meet. -
Detail the center:
Using a needle tool, stipple the center piece repeatedly to create a pollen-like texture. -
Dry the floral elements:
Allow your four flower sculptures to dry completely, separately from the tiles. This ensures they keep their dimension and don’t get squished during handling.
Step 3: Assembly and Finishing
-
Glue the components:
Once both the square bases and flowers are fully dry and lightweight, apply a strong craft glue to the back of each flower. -
Position carefully:
Press the flower firmly into the exact center of the square tile. Hold it in place for a minute to ensure the glue grabs onto the foam surface. -
Seal the artwork:
Take the tiles outside or to a ventilated area and apply a light coat of clear matte varnish. This unifies the sheen and protects the foam from dust. -
Prepare for mounting:
Clean the back of each tile to ensure it is dust-free. -
Apply tape:
Cut strips of heavy-duty double-sided mounting tape and apply them vertically to the back of each tile. -
Mount firmly:
Press the tiles onto your wall, spacing them evenly apart vertically. Use a level to ensure the column is straight.
Make it Ancient
Before sealing, dry brush a tiny bit of diluted brown acrylic paint into the flower crevices and wipe it off. It adds an aged, antique stone effect.
Step back and admire your custom architectural wall art that looks heavy but hangs effortlessly.