If you’re craving a cute clay date that’s equal parts cozy and creative, grab some air dry clay or polymer clay and make something side-by-side. I pulled together ideas that lean into matching pairs, tiny keepsakes, and low-pressure projects that leave you with something adorable (and a really good memory).
Tiny “Our Date” Mini Diorama
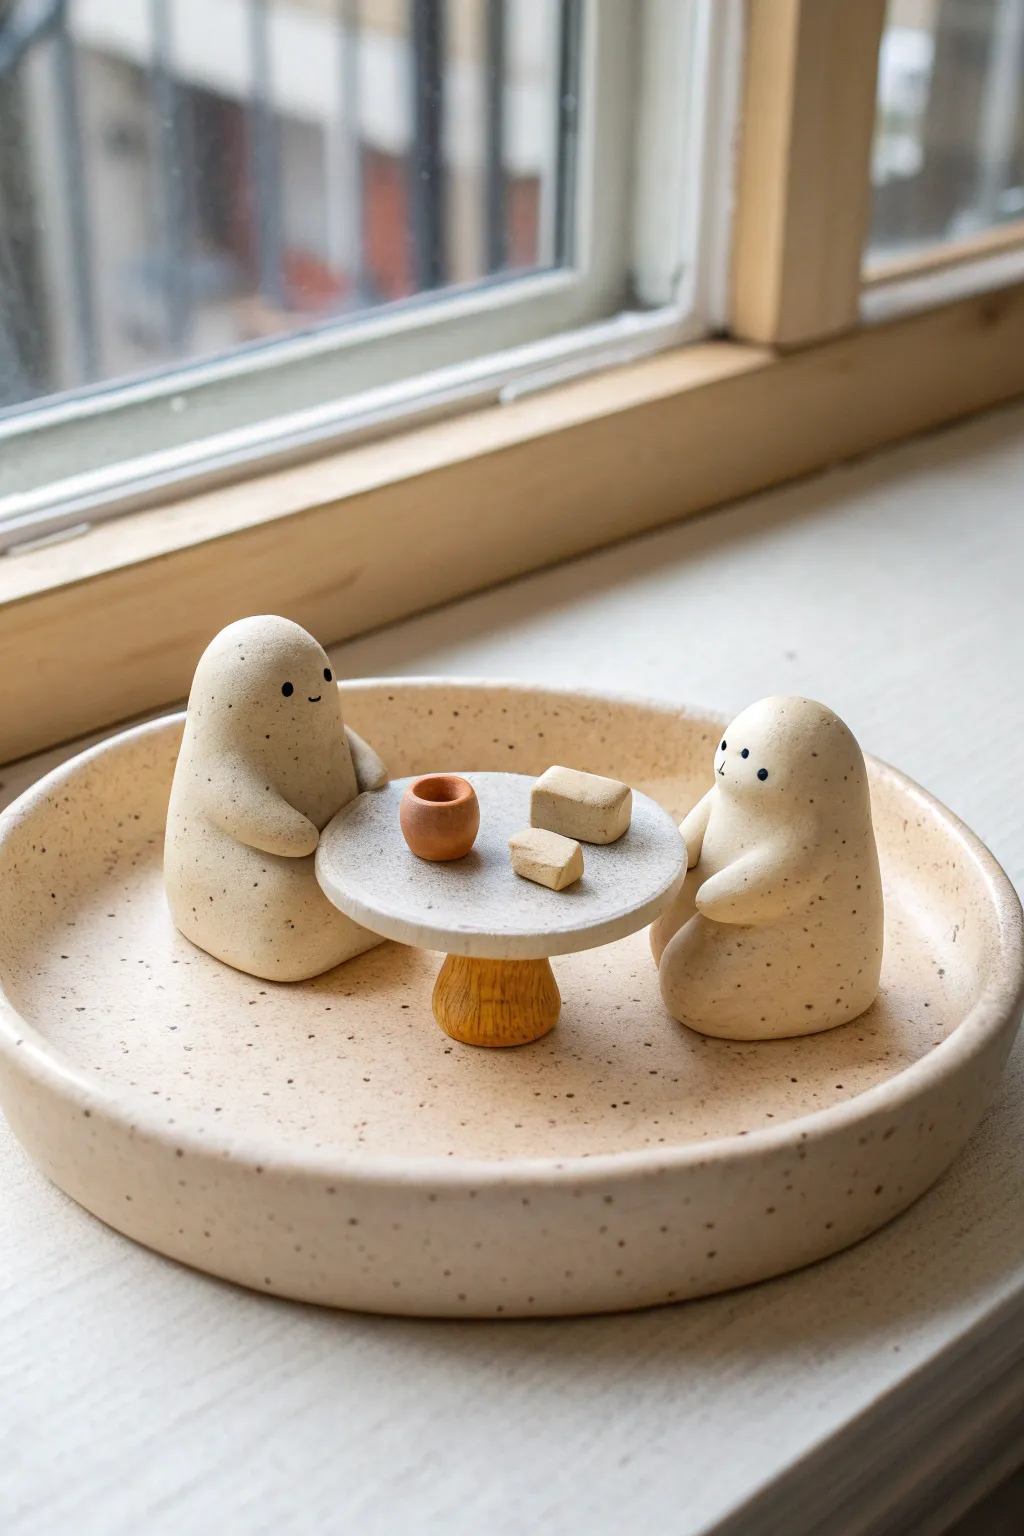
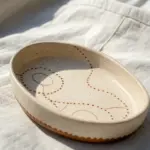
Capture the sweetness of a quiet moment together with this charming ceramic-style diorama. Featuring two minimalist spirit figures sharing a meal at a tiny table, this project uses speckled clay to create a warm, organic scene that sits perfectly on a windowsill.
How-To Guide
Materials
- Speckled beige polymer clay (or air-dry clay with added sand/pepper)
- Terracotta-colored polymer clay
- Yellow ochre acrylic paint
- Liquid clay adhesive (or PVA glue for air-dry clay)
- Black acrylic paint
- Fine-point detail brush or dotting tool
- Circle cutter (approx. 3-4 inches diameter)
- Smaller circle cutter (approx. 1.5 inches diameter)
- Rolling pin
- Sculpting tools (needle tool, smoothing tool)
- Tin foil (for armature support)
Step 1: Setting the Scene
-
Form the base:
Start by rolling out a thick slab of your speckled beige clay, about 1/4 inch thick. Use your large circle cutter to create the main base of the dish. -
Build the rim:
Roll a long snake of clay and flatten it slightly to create a ribbon. Attach this around the perimeter of your base circle to form the vertical walls of the dish. Blend the seams on the inside and outside until invisible for a smooth, thrown-pottery look. -
Create the texture:
If your clay isn’t pre-speckled, I like to knead in a tiny pinch of black pepper or fine sand at this stage to achieve that organic, stoneware aesthetic.
Clean Seams
To get that seamless ceramic look without a kiln, dip your finger or tool in a tiny bit of baby oil (polymer) or water (air-dry) to smooth joints completely.
Step 2: Sculpting the Figures
-
Shape the bodies:
Roll two balls of speckled clay, slightly egg-shaped. Gently flatten the bottom so they sit stable. These should be roughly 1.5 to 2 inches tall. -
Form the heads:
Smooth the stop of the egg shape into a rounded dome. The look is minimalist, so no distinct neck is needed. -
Add arms:
Roll two tiny sausages of clay for each figure. Attach them to the sides of the body, curving them forward as if resting on a table or lap. Blend the shoulders seamlessly into the main body form. -
Refine the posture:
Slightly tilt one figure toward the other to create a sense of conversation and intimacy between the two characters.
Step 3: Furnishing the Date
-
Make the table top:
Roll out a small slab of speckled clay and cut a circle using your smaller 1.5-inch cutter. Smooth the edges so they look soft and rounded, not sharp. -
Create the table base:
Form a small, thick cylinder of clay. Texture this piece vertically with a needle tool to simulate wood grain. Before baking, you can lightly brush this with yellow ochre paint or use a wood-tone clay. -
Set the table:
Sculpt a tiny cylinder from terracotta clay and hollow it out to make a cup. Create two small rectangular blocks from the beige clay to represent snacks like tofu or cheese. -
Assemble the furniture:
Attach the table top to the textured base. Place the cup and snacks on top, securing them with a dab of liquid clay or blending the clay slightly.
Custom Menu
Personalize the table! Instead of blocks, sculpt tiny versions of your favorite shared snacks—miniature pizza slices, sushi rolls, or coffee mugs.
Step 4: Final Details
-
Positioning:
Arrange the two figures and the table inside the main dish base to ensure everything fits comfortably before hardening. Press them down lightly to flatten their bases against the floor. -
Baking or Drying:
Follow the manufacturer’s instructions for your specific clay. If using polymer clay, tent with foil to prevent scorching the light beige color. -
Painting faces:
Once cool and dry, use the finest tip brush or a toothpick dipped in black acrylic paint. distinct wide-set eyes are key to the cute expression. -
Finishing touches:
Add a tiny, barely visible smile between the eyes. If desired, finish the piece with a matte varnish to protect the paint without making the clay too shiny.
Place your finished diorama on a sunny shelf as a reminder of sweet shared moments
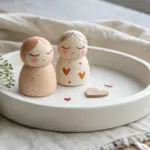

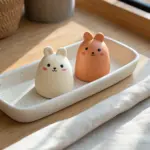
Matching Food Character Charms

Celebrate your friendship or relationship with these adorable matching polymer clay charms featuring a blushing dumpling and a sweet strawberry. Their simple shapes and expressive Kawaii-style faces make them the perfect beginner-friendly project for a creative date night.
Detailed Instructions
Materials
- Polymer clay (white, red, light green, black, pink)
- Eye screws (silver tone)
- Keychains with jump rings
- Ball stylus tool or dotting tool
- Needle tool or toothpick
- Liquid polymer clay (optional, for adhesion)
- Gloss glaze or UV resin (for the eyes)
- Soft pastel chalk (pink) and a soft brush
- Small blade or craft knife
- Oven for baking
Step 1: Sculpting the Little Bao
-
Base Shape:
Start by conditioning a sphere of white polymer clay until it’s about the size of a large gum ball. Roll it smooth and then gently press the bottom onto your work surface to flatten it slightly so it sits upright. -
Creating the Pleats:
Use a needle tool or the side of a toothpick to press indentations starting from the top center of the dome down the sides. create about 5-6 curved lines to mimic the folded dough of a dumpling. -
Top Knot:
Gently pinch and twist the very top center where the lines meet to create the little gathered knot of dough. -
The Heart Accent:
Take a tiny amount of pink clay and shape it into a miniature heart. Attach this to the side of the top knot. I suggest adding a tiny dot of liquid clay here to ensure it bonds permanently. -
Bao Face Details:
Roll two very thin, short snakes of black clay for the eyes. Curve them into ‘u’ shapes for a happy, squinting expression. Create a tiny ‘u’ mouth and place it centrally. Add two tiny flattened pink circles for rosy cheeks.
Clean Clay Pro Tip
White clay picks up dust easily! Keep a pack of baby wipes or rubbing alcohol nearby to clean your hands and tools before handling the white dumpling dough.
Step 2: Crafting the Sweet Strawberry
-
Strawberry Form:
Take a similar amount of red clay and roll it into a ball. Gently taper one end to form a rounded cone shape, creating that classic strawberry silhouette. -
Leafy Greens:
Flatten a small piece of green clay. Use a small blade or cutter to cut out a 5-pointed star or flower shape. Place this cap on the rounded top of the strawberry. -
Stem Texture:
Using a needle tool, gently impress a central line down each green leaf to give them a natural look, curving them slightly downwards over the red fruit. -
Seeding:
Use a needle tool to poke shallow, random indentations all over the red surface for seed pockets. Roll tiny specks of yellow or orange clay and press them into these holes. -
Berry Face Details:
For the strawberry, roll two small balls of black clay for open eyes. Add a tiny white highlight dot to each black eye for sparkle. Add a small black smile and two pink cheek circles.
Level Up: Scent it!
Before baking, mix a drop of strawberry fragrance oil into the red clay for a scented charm. It adds a delightful sensory surprise to your keychain.
Step 3: Assembly and Finishing
-
Hardware Prep:
Before baking, screw a silver eye screw into the top center of both the dumpling and the strawberry. You can remove it, add a dab of super glue or liquid clay, and re-insert it for extra security. -
Baking Time:
Place your charms on a ceramic tile or baking sheet lined with parchment paper. Bake according to your clay manufacturer’s instructions—usually around 275°F (135°C) for 15-30 minutes depending on thickness. -
Cooling Down:
Let the pieces cool completely inside the oven or on a wire rack. Polymer clay is strongest once fully cooled. -
Glazing:
To make the eyes pop, apply a tiny drop of UV resin or gloss varnish just to the black parts of the eyes. This gives them a wet, lively look. -
Final Connection:
Once everything is dry, use pliers to open the jump ring on your keychain hardware and attach it to the eye screw on your charm.
Hook these onto your keys or backpack and enjoy carrying a little piece of your shared creativity wherever you go
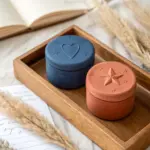


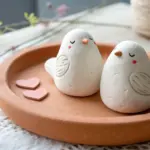
Mushroom Couple Figurines

Create this charming pair of woodland companions to brighten up your shelf or desk. These adorably simple mushroom figurines feature natural wood tones, sweet smiling faces, and speckled red caps that evoke a cozy, rustic feel.
Step-by-Step Guide
Materials
- Air-dry clay or polymer clay (white or beige)
- Wooden slice base (for display)
- Acrylic paints (burnt sienna/terracotta, cream/off-white, black, bright pink)
- Paintbrushes (small round brush, fine liner brush)
- Water cup and palette
- Sculpting tools (or a butter knife)
- Sandpaper (fine grit)
- Matte varnish or sealant
- Aluminum foil (optional, for armature)
Step 1: Sculpting the Shapes
-
Form the stems:
Start by taking two lumps of clay, roughly the size of a golf ball each. Roll them into stout cylinders that are slightly wider at the bottom to create stable stems. Smooth out any fingerprints with a bit of water. -
Shape the caps:
Take two slightly larger pieces of clay and roll them into balls. Gently press your thumb into the center of each ball and pinch around the edges to create a domed mushroom cap shape. Aim for a smooth, rounded top. -
Test the fit:
Place the caps onto the stems to check proportions. The caps should look slightly oversized and endearing compared to the chubby stems. Adjust the clay amount if needed. -
Join the pieces:
Score the top of the stem and the underside of the cap with a needle tool or toothpick to create texture. Apply a tiny dab of water (for air-dry clay) or liquid clay (for polymer) and press the parts firmly together. -
Refine the surface:
Use a damp sponge or your finger to smooth the seam where the cap meets the stem, though mostly you want a distinct separation. Ensure the bottom of the stem is perfectly flat so it stands upright. -
Dry or bake:
If using air-dry clay, set the figures aside in a dry spot for 24-48 hours. If using polymer clay, bake according to the package instructions and let them cool completely.
Step 2: Painting and Details
-
Base coat the stems:
Mix a warm cream color using white and a tiny drop of brown. Paint the stems completely. You might need two thin coats for opaque coverage. I find keeping brush strokes vertical mimics a slight wood grain texture. -
Paint the caps:
Use a burnt sienna or terra cotta color for the caps. Apply the paint in a sheer wash first, then build up color towards the top, leaving it slightly lighter near the rim to create a weathered, organic look. -
Add cap spots:
Once the red paint is dry, dip a round brush or the handle end of a paintbrush into cream paint. Press gently onto the cap to create imperfect, round polka dots. Vary the sizes slightly for interest. -
Sketch the faces:
Using a very light pencil, sketch the facial features low on the stem. You want wide-set eyes and a small smile right in between them. -
Paint the eyes and mouth:
Switch to your finest liner brush and black paint. Carefully paint two small upward-curved arches for the happy eyes and a tiny ‘u’ shape for the smile. -
Add rosy cheeks:
Mix a soft pink color or dilute a bright red. paint two small circles just outside the smile line to give them a blushing appearance. -
Distress (optional):
To enhance the rustic wood look, you can dry-brush a very small amount of light brown paint vertically on the stem, avoiding the face area.
Paint Hack
To get that specific ‘stained wood’ instead of ‘painted plastic’ look, dilute your acrylic paint with water (about 1:1 ratio) and apply it like a watercolor wash.
Step 3: Finishing Up
-
Seal the work:
Create a stronger finish by applying a coat of matte varnish over the entire mushroom. This protects the paint and unifies the sheen. -
Create the display:
For the full effect shown in the inspiration photo, arrange your finished couple on a small wooden slice. You can glue a small dried pinecone or twig near their feet for extra forest charm.
Cracking Clay?
If you see small cracks forming as your air-dry clay dries, mix a small amount of fresh clay with water to make a paste and fill the cracks, then sand smooth once dry.
Now you have a sweet handcrafted keepsake representing your connection with nature and each other


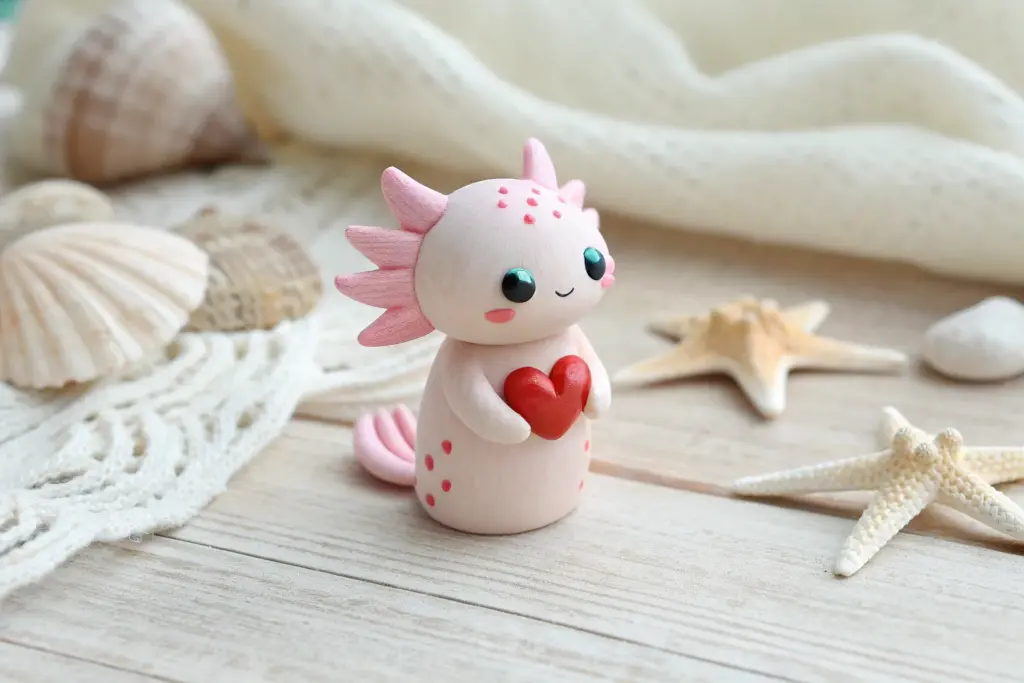
Mystery Creature Swap
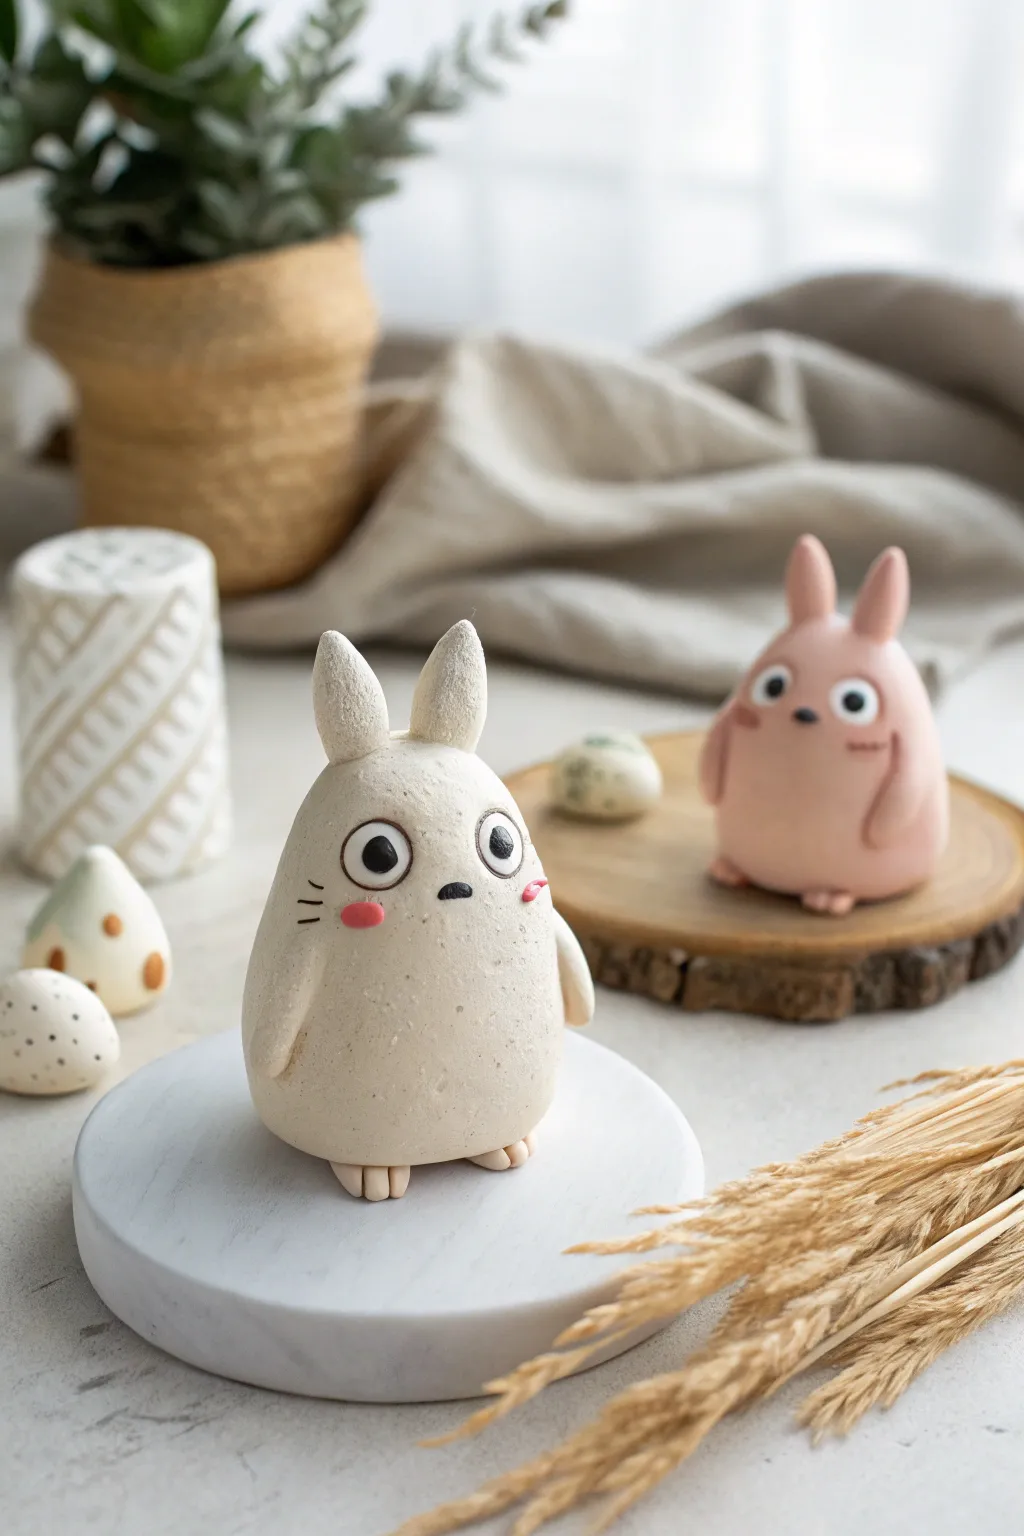
These charming, rounded forest spirits are perfect for a relaxing clay date, featuring a delightful speckled stone texture and sweet, wide-eyed expressions. Their minimalist, egg-shaped bodies make them accessible for beginners while leaving plenty of room for personal character details.
Step-by-Step
Materials
- Polymer clay (white, beige/tan, black, pink)
- Faux granite or speckled clay (optional, or mix black pepper into white clay)
- Black acrylic paint (if not using black clay)
- Small dotting tool or toothpick
- Ball stylus tool
- Fimo gloss varnish (optional)
- Craft knife or clay blade
- Small rolling pin
Step 1: Shaping the Base
-
Prepare the speckled clay:
Start by conditioning your main body color. If you don’t have pre-speckled granite clay, I like to mix a tiny pinch of ground black pepper or dried tea leaves into white or cream clay to achieve that natural, stony texture visible in the photo. -
Create the body shape:
Roll a large ball of clay into a smooth egg shape about the size of a lemon. Flatten the bottom gently on your work surface so the creature stands upright without wobbling. -
Smooth the surface:
Use your thumbs to smooth out any fingerprints. The silhouette should be slightly narrower at the top and wider at the base, creating a soft, pear-like form.
Pepper Perfect
To get that speckled stone look without buying special clay, mix ground black pepper into white clay. It mimics granite perfectly and bakes safely.
Step 2: Adding Appendages
-
Form the ears:
Roll two small marble-sized balls of the same body-color clay. Roll these into tapered cones. -
Attach the ears:
Place the cones on top of the head, slightly spaced apart. Blend the seams downward into the body using a clay tool or your finger so they look grown from the head rather than just stuck on. -
Create the arms:
Roll two small sausages of clay for the arms. They should be simple, rounded shapes without detailed fingers. -
Attach the arms:
Press the arms onto the sides of the body, positioning them low so they hang casually. Blend the top shoulder area into the body, but leave the bottom of the arm distinct. -
Make the feet:
For the feet, create two tiny oval shapes. Taking a knife or thin credit card, indent two little lines into each oval to suggest toes. -
Position the feet:
Adhere these tiny feet to the very bottom front edge of the body so they peek out.
Make it a Duo
Don’t stop at one! Make a second creature in a pastel color like soft pink or sage green to create the sweet pair shown in the photo.
Step 3: Facial Features
-
Create the eye sockets:
Use a ball stylus focused on the upper third of the face to create two shallow indentations where the eyes will sit. -
Add the eye whites:
Roll two balls of plain white clay and flatten them into discs. Press these into the indentations you just made. -
Add the pupils:
Roll tiny specs of black clay (or paint later) and place them in the center of the whites. A slightly offset pupil can give a cute, distinct expression. -
Add the nose:
Place a minuscule horizontal oval of black clay between the eyes for the nose. -
Add blush cheeks:
Take extremely small amounts of pink clay, flatten them into ovals, and place them underneath the outer corners of the eyes. -
Detail the whiskers:
Using a needle tool or very fine black paint brush, add two or three tiny whiskers on the cheeks near the blush marks. -
Add tummy texture (optional):
If you want the subtle markings seen on the pink companion, use a needle tool to gently etch small inverted ‘V’ shapes on the upper chest area.
Step 4: Finishing Up
-
Bake the clay:
Bake your figurine according to the specific temperature and time instructions on your package of polymer clay. Usually, this is around 230°F (110°C) for 15-30 minutes. -
Cool down:
Let the piece cool completely before handling it, as hot clay is fragile. -
Varnish:
For a protective finish, apply a thin layer of matte or gloss varnish to the eyes to make them look wet and lively.
Place your new mythical friend on your desk or shelf as a gentle reminder of your creative afternoon