Every potter knows the frustration: you pull a perfect piece from the kiln, or discover an unexpected glaze combination that’s absolutely stunning—and then you can’t remember exactly what you did. A pottery journal transforms your studio practice from guesswork into a system of continuous learning, helping you replicate successes, understand failures, and develop your craft with intention.
Why Documentation Matters in the Studio

Working with clay involves dozens of variables: clay body composition, wall thickness, drying conditions, glaze chemistry, firing schedules, and kiln atmosphere. When something goes wrong—or wonderfully right—it’s nearly impossible to identify the cause without records. I’ve watched talented potters repeat the same mistakes for years simply because they never documented what happened.
A pottery journal serves as your personal reference library. It captures the relationship between your choices and their outcomes, revealing patterns you wouldn’t otherwise notice. Over time, this record becomes invaluable: you’ll know exactly which clay shrinks 12% versus 8%, which glaze combination creates that coveted blue-green overlap, and why pieces fired on the bottom shelf always come out differently.
Beyond troubleshooting, documentation builds confidence. When you can predict outcomes based on past data, you move from reactive problem-solving to proactive decision-making. You’ll waste less clay, fewer glazes, and significantly less kiln time—all while accelerating your learning curve.


Pottery Journal Template

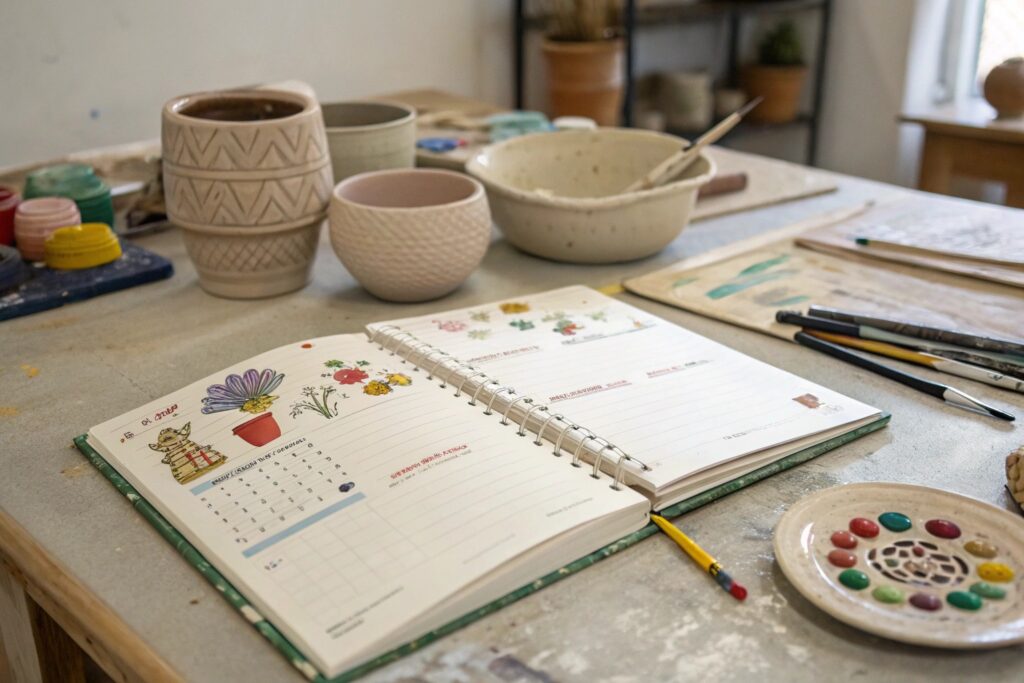
To help you start documenting immediately, I’ve created a comprehensive pottery journal template that covers all the essential tracking fields discussed in this guide. This printable logbook is designed to capture everything from clay selection and forming details through glazing decisions and firing results. You can download it, print multiple copies, and keep them in a binder next to your workspace, or use it digitally if you prefer to type your notes.
The template includes dedicated sections for clay body information, forming techniques, drying observations, detailed glaze layering sequences, complete firing schedules, and a results section where you compare predictions against reality. There’s also space for sketches, photos, and personal notes about what worked and what needs adjustment. Using this template consistently will help you build a reference system tailored to your specific studio conditions, materials, and aesthetic goals—turning every firing into documented progress rather than just another batch of pots.


Essential Elements of a Useful Pottery Logbook
Project Identification and Clay Body Data
Start each entry with basic project information: a name or number, the date you began, and a brief description of the piece. This seems obvious, but consistent naming helps you locate entries months or years later when you’re trying to remember “that mug with the interesting handle.”
Clay body documentation forms the foundation of your records. Note the specific clay type and brand—”stoneware” isn’t specific enough when you’re comparing results. Record the batch or lot number if available, as clay composition can vary between production runs. Document the amount of clay used (in kilograms or pounds) and any mesh size specifications. This level of detail matters because different clay bodies respond differently to identical forming, drying, and firing processes.
If you’re testing clay bodies systematically, consider adding shrinkage data, water content, and drying characteristics. Simple physical tests like measuring greenware versus bisque versus final dimensions will reveal each clay’s personality.
Forming and Construction Notes

Capture how you made the piece: wheel-thrown, handbuilt, slab construction, or coil method. Record greenware dimensions (height, width, depth) and note wall thickness and base thickness separately. Uneven thickness is a primary cause of cracking and warping, so tracking these measurements helps you identify patterns when defects appear.
Include any forming challenges or techniques you experimented with. Did you add a handle when the piece was leather-hard? Did you use a specific rib for texture? These details seem minor in the moment but become crucial when you’re trying to replicate a successful piece or understand why something failed.
Drying Process Documentation
Drying is where many beginners lose pieces to preventable cracks. Document your drying method: did you cover the piece with plastic, leave it open, or use a drying cabinet? Note the drying time and environmental conditions—humid versus dry weather, temperature, air circulation.
Record bisque dimensions after the first firing and calculate the shrinkage rate. Clay shrinkage varies by body type and moisture content, typically ranging from 8% to 14% total shrinkage from wet to fired. Knowing your specific clay’s behavior helps you plan piece sizes accurately.
Glaze Application and Layering Details

Glaze documentation requires precision. For each glaze, record:
- Full glaze name or recipe number
- Application method (dip, brush, spray, pour)
- Number of coats applied
- Specific gravity (if measured)
- Overlap areas if using multiple glazes
When layering glazes, the order matters enormously. A glaze applied first creates a different effect than the same glaze applied second or third. I learned this the hard way after achieving a beautiful copper-cranberry overlap, then spending weeks trying to recreate it before realizing I’d reversed the application order.
Create a simple notation system: “Glaze A (2 coats) → Glaze B (1 coat, upper half only) → overlap creates dark metallic line.” Document which areas you left as bare clay versus fully covered, because glazes behave differently over bare clay than over other glazes.
For test tiles, establish a marking system before bisque firing. Stamp or carve numbers and letters into the clay while it’s leather-hard—these marks won’t rub off like pencil notations might. In your journal, match these codes to your glaze combinations.
Firing Schedule Specifications
Firing schedules contain multiple components that all affect final results:
Firing Type and Atmosphere
Note whether this is a bisque or glaze firing, and the kiln type (electric, gas, wood). Record the atmosphere: oxidation (typical for electric kilns) or reduction (possible with gas/wood).
Temperature and Cone
Document your target cone number and corresponding peak temperature. Remember that cone numbers indicate heat work (time + temperature), not just temperature. Cone 6 fired slowly reaches about 2232°F, while the same cone fired quickly requires about 2269°F.
Ramp Rate
This is your heating speed, measured in degrees per hour (°C/hr or °F/hr). A typical stoneware glaze schedule might ramp at 60°C/hr to 200°C, then increase to 120°C/hr for the remainder.
Soak/Hold Time
The soak is when the kiln holds at peak temperature to ensure glazes melt fully and clay vitrifies completely. Most stoneware glaze firings soak for 10-15 minutes at peak temperature. Too long can cause over-firing; too short may leave glazes under-melted.
Cooling Rate
Note whether cooling was natural (kiln turned off, cooled gradually) or controlled (programmed cooling rate). Some glaze effects and clay bodies benefit from slow cooling through specific temperature ranges.
Kiln Position
Record where in the kiln you placed the piece. Top shelves often fire hotter than bottom shelves, and proximity to elements affects results.
| Firing Schedule Component | What to Record | Why It Matters |
|---|---|---|
| Ramp Rate | °C/hr or °F/hr at each segment | Affects heat work and glaze development |
| Peak Temperature | Actual temperature reached | Determines vitrification level |
| Soak Time | Minutes held at peak | Ensures complete glaze melt and clay maturation |
| Cooling Rate | Natural or controlled speed | Influences crystal formation and stress relief |
| Kiln Position | Shelf level, location | Temperature varies throughout kiln |
Results, Observations, and Reflections

After firing, measure final dimensions and calculate total shrinkage. Describe the surface quality, color, and any unexpected effects. Rate the overall success on a simple scale (1-5 helps you quickly identify your best work when reviewing entries).
This is where prediction meets reality. Before firing, I note what I expect to happen based on previous experience. Afterward, I compare: “Expected smooth blue surface; got textured green with copper speckling in overlap areas.” These mismatches drive learning. )
Document defects specifically. “Cracked” isn’t helpful, but “S-crack on base, visible after bisque” points toward a forming issue on the wheel. “Warped rim on one side” suggests uneven drying or thickness.
Include photos at multiple stages: greenware, post-bisque, glazed but unfired, and final result. Visual records capture subtleties that words miss. )


Using Your Journal as a Learning System
The real power of a pottery journal emerges over time, as you accumulate data across multiple firings and projects. After six months of consistent documentation, patterns become visible that no single entry would reveal.
Identifying Patterns and Correlations
Compare entries across similar projects. When you’ve documented twenty mugs, you can see which forming techniques consistently produce the fewest defects, which glazes are most reliable, and which clay bodies handle your specific forming style best.
Look for correlations between variables: Do pieces made on humid days crack more during drying? Does glaze A always run when layered over glaze B? Does your kiln fire hotter on the top right shelf? These insights only emerge through systematic comparison.
Replicating Success
When you create something exceptional, your journal becomes the recipe for repeating it. Without documentation, you’re relying on memory months or years later—inevitably forgetting subtle details that made the difference. With complete records, you can recreate the exact clay, forming technique, glaze combination and application order, and firing schedule that produced the result.
Continuous Improvement
Treat failed pieces as valuable data rather than wasted effort. Each defect teaches you something about your process. When you document what went wrong and your hypothesis about why, then adjust one variable at a time in subsequent firings, you’re conducting genuine experiments rather than making random changes.
Over time, your journal evolves into a personalized reference manual—more valuable than any published book because it reflects your specific materials, equipment, studio conditions, and aesthetic goals.
Building Better Studio Habits
Start simply. If comprehensive documentation feels overwhelming, begin with just three data points: clay type, glaze combination, and firing temperature. As the habit solidifies, gradually add more detail.
Keep your journal accessible—right beside your workspace, not stored away. The easier it is to grab, the more likely you’ll use it consistently. I keep a small notebook and pencil hanging near my wheel for immediate notes, then transfer details to a more complete logbook later.
Take photos throughout the process with your phone. Modern smartphones make visual documentation effortless, and photos capture details you might not think to describe in words. Create a simple filing system: project name and date, with images from greenware, bisque, glazed-but-unfired, and final stages.
Review your journal regularly. Once a month, spend thirty minutes reading past entries, looking for patterns, and planning upcoming experiments based on what you’ve learned. This reflection time transforms scattered data into genuine knowledge.